
In this guide
- Start with the product, before you touch the camera
- Build a small setup you can repeat
- Light the shape, not just the background
- Set exposure for the item you are selling
- Edit the background without changing the product
- Diagnose the problem before reshooting everything
- Turn the clean photograph into a useful listing asset
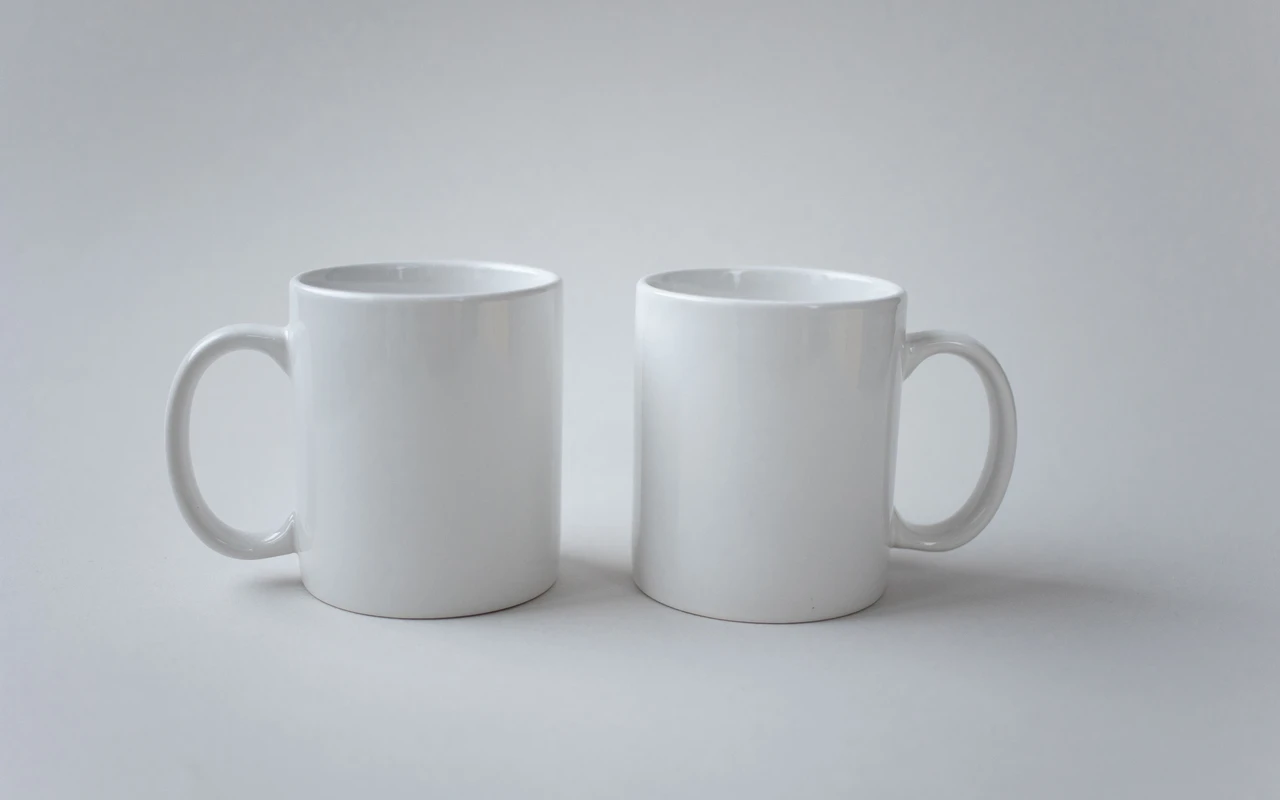
A white background looks simple until you try to photograph a white mug on it. The mug disappears at the edges, the background turns grey, and increasing the exposure makes the handle lose its shape. None of that means you need a more expensive camera. It usually means the product and the background need different treatment.
White background product photography gives shoppers a clear view of what they are buying. For Amazon sellers, it also provides useful source material for supporting images and later design work. The aim is to keep the actual item believable: its colour, finish, shape and included parts should survive every edit.

Start with the product, before you touch the camera
Clean the item more carefully than you think necessary. A fingerprint on a dark bottle or dust on a glossy lid becomes obvious when the photograph fills a screen. Use a soft cloth suitable for the material, straighten labels and check that packaging reflects the version customers will receive.
Decide exactly what belongs in the frame. If the listing sells one mug, photographing two can create an expectation problem. If a stand is necessary to hold the item, plan how to remove the stand without removing part of the product. Keep a separate reference photograph of everything included in the box.
Position the product so its useful shape is visible. A straight front view may explain a labelled bottle well. A slight turn may explain the handle and depth of a mug better. Choose the angle because it reveals the item, rather than because it looks dramatic.
Build a small setup you can repeat
Use a table near a window, a smooth white backdrop and a piece of white card on the opposite side. Curve the backdrop from the vertical wall onto the table so there is no hard corner behind the product. Keep the curve gentle enough that the material does not crease.
Place the camera on a stable support. Mark the positions of the camera, product and backdrop with removable tape. Those marks become valuable when you photograph another colour or need to reshoot one item a week later.
Switch off room lights if they create a different colour from the window light. A yellow ceiling lamp and a cool window can make opposite sides of the same white bottle look different. One consistent light source is easier to understand and correct.
Light the shape, not just the background
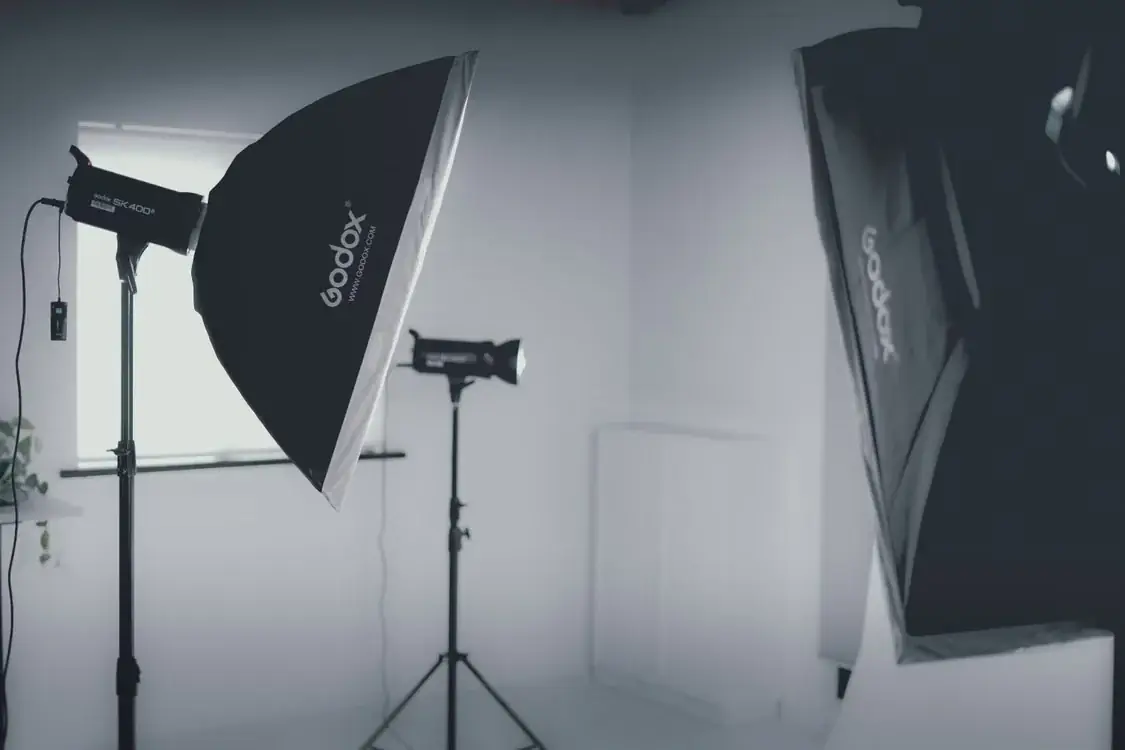
Move the product away from the backdrop until you can control its edge. If everything is pressed against the white surface, bright reflected light can wash out translucent plastic and pale materials. Start with some separation, take a photograph and inspect the outline.
Use the white card to lift a dark side gently. Do not remove every shadow automatically. A little shading on the product is what tells a shopper that a surface is curved or a handle is rounded. The problem is distracting darkness, not the existence of shape.
For glossy objects, look at what the surface is reflecting. A long white reflection can describe a bottle neatly; a reflection of your window frame may look like damage. Move the light or the product in small steps. On reflective surfaces, a tiny change in angle often matters more than an exposure adjustment.
White products need special attention. If the edge blends into the background, a dark card placed outside the frame can create a controlled reflection that reveals it. Check that the reflection still looks like the real material. You are describing the product, not adding a black border around it.
Set exposure for the item you are selling
Focus on an important product detail, such as the label or front edge. Take a test frame and inspect it at full size. If the label is sharp but the back of the item is soft, change the camera position or depth of field rather than assuming sharpening will fix it.
Watch bright areas on white packaging. If a fold or embossed mark becomes a blank patch, reduce exposure and improve the background separately. A slightly grey background with a correctly exposed product is easier to repair than a pure white background with missing product detail.
Keep one reference frame before you start editing. Compare the final image with that frame and the actual item under neutral light. This helps catch a warm wooden handle becoming orange or a cream bottle becoming bright white.
Edit the background without changing the product
Separate background cleanup from product retouching. First remove dust, backdrop marks and unwanted supports. Then refine the background and inspect the product boundary. Keep an untouched original so you can see what changed.
A background-removal tool can be a useful first pass, but check handles, transparent lids, fine bristles and reflective edges manually. Those are common places where a selection can remove real information. Zoom in to inspect the edge, then zoom out to judge whether the object still feels natural.
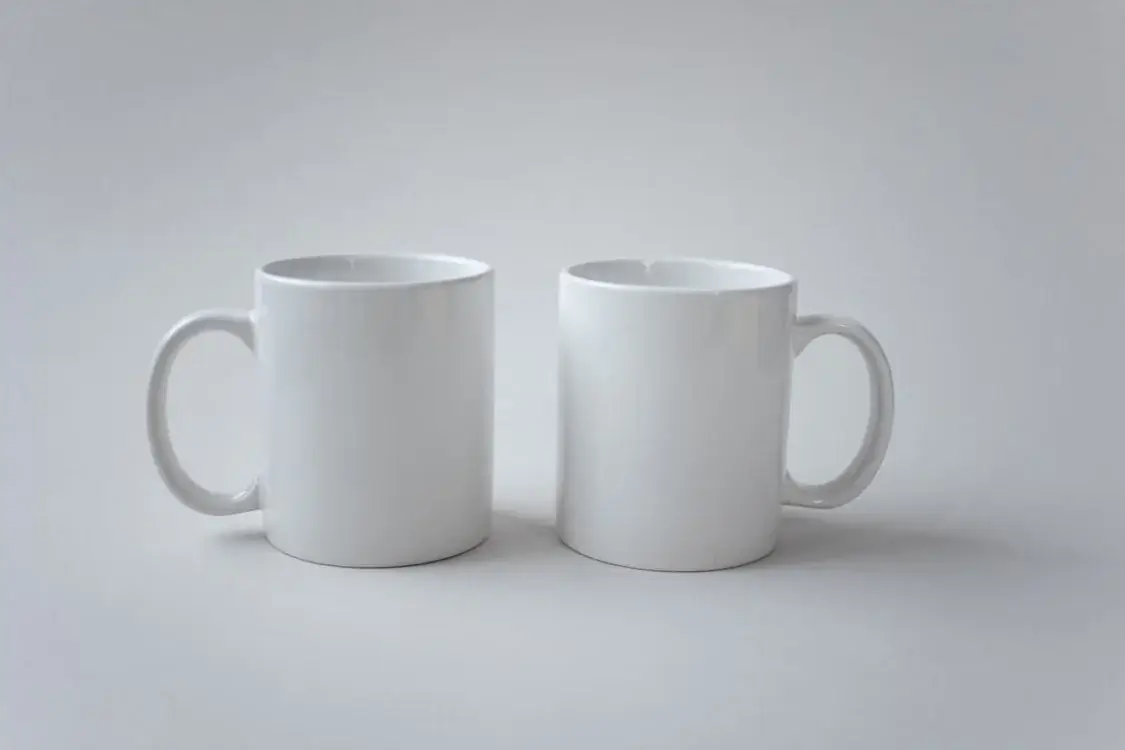
Avoid adding a stronger shadow simply because it makes the image feel expensive. Shadows need to agree with the lighting on the product. A dark shadow pointing in the opposite direction from a highlight makes even a clean image look assembled.
For Amazon-specific upload rules, consult the current marketplace and category guidance. Amazon's public photography guide discusses pure white backgrounds and accurate product presentation; a general photography example should not be mistaken for an approved main image. See Amazon's product photography guidance and the ListingBrain image requirements guide.
Diagnose the problem before reshooting everything
| What you see | What to try first |
|---|---|
| Background is grey, product looks correct | Clean the background separately rather than brightening the entire image |
| White product has no visible outline | Change separation and reflections; preserve gentle shading |
| Label is unreadable | Refocus, stabilise the camera and reduce glare |
| Colours differ between images | Use consistent lighting and compare against the same reference |
| Product looks cut out | Inspect edge masking and the direction of any shadow |
Change one thing at a time. If you move the product, alter the light and change exposure together, you will not know which adjustment helped. Keep the successful setup photographed on your phone so it can be repeated.
Turn the clean photograph into a useful listing asset
Save a high-quality master before making smaller exports. Give the file a clear name that identifies the product and variation, such as ceramic-mug-cream-front. Keep alternative angles in the same folder and mark which photograph has been approved for accuracy.
That clean reference can support a wider visual workflow. With ListingBrain's Amazon listing image generator, you can supply a product reference and verified details to create supporting gallery and A+ visuals. Review those outputs against the original item; an attractive generated scene is still a draft until its details are checked.
The most useful white background photograph is the one you can trust. When the product remains sharp, correctly coloured and clearly outlined, it becomes a dependable foundation for everything else you create.
Editorial photographs are credited beside each image. They illustrate the topic and do not represent ListingBrain customer results or an endorsement by a depicted person.