
In this guide
- Choose one product and define the photographs you need
- Make a stable tabletop station
- Use the main camera and avoid unnecessary processing
- Take a test frame and inspect it before continuing
- Capture a short, purposeful sequence
- Edit for accuracy and keep the original files
- Know when the phone setup needs help
Your phone may already be capable of producing a useful product photograph. The harder part is making the next photograph match the first. A slight camera tilt, a moving patch of sunlight or an automatic exposure change can turn a simple set into a collection of unrelated images.
Product photography with a phone works best when you make the setup predictable. Keep the camera still, control the light and check the details before you pack everything away. This workflow is intended for sellers photographing their own real products, whether the images will be edited directly or used as references for later creative work.
Choose one product and define the photographs you need
Begin with a small job. Photograph one item in one colour before attempting the whole catalogue. Write down the questions the photographs must answer: what the item looks like, how deep it is, what the material feels like and what comes in the box.
For a storage jar, that could mean a front view, a slightly elevated view of the lid, a close-up of the seal and a photograph of the included parts. You do not need four nearly identical front views. Give each photograph a reason to exist.
Check the physical sample against the listing information. A prototype with a different lid or an older label is a poor reference for the product now shipping. Put a note beside the setup with the product name, variation and any details that must remain unchanged during editing.
Make a stable tabletop station
Choose a solid table rather than a bed, sofa or floor that moves when you do. Put the product near a broad, indirect light source and remove clutter from behind it. A simple backdrop makes the edges easier to inspect later.
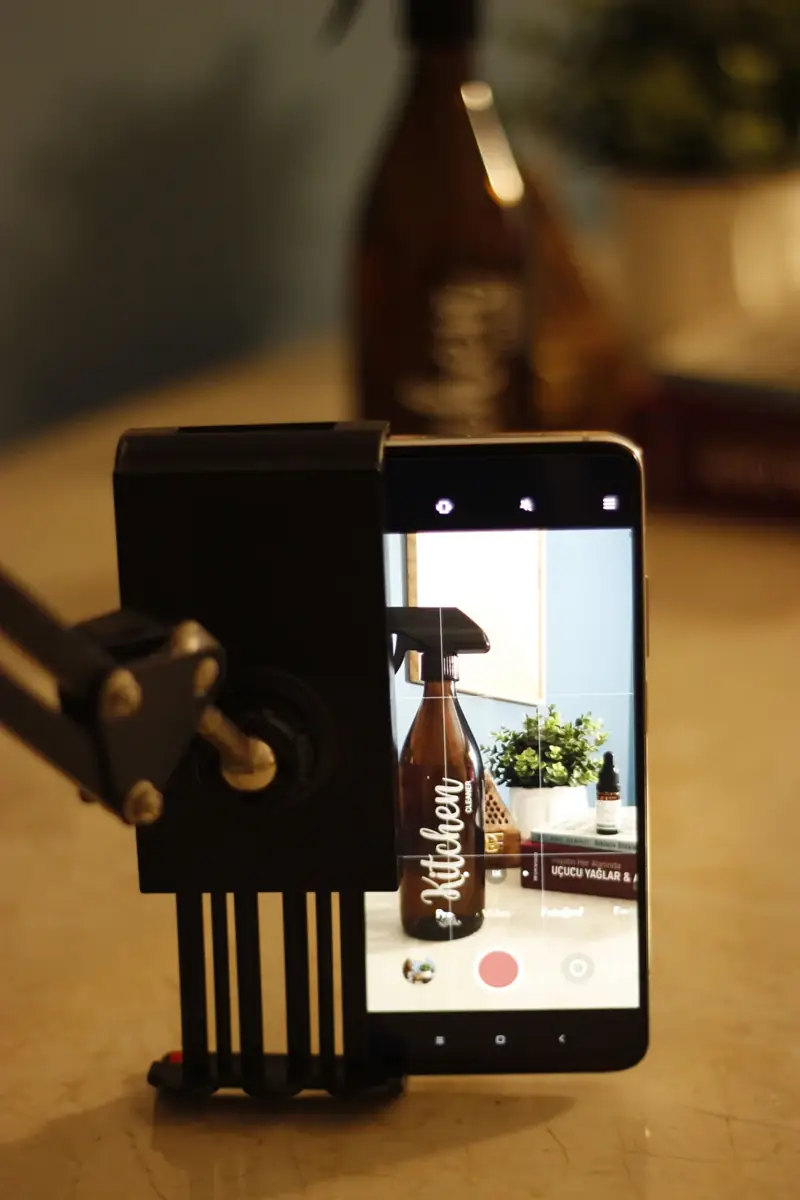
Support the phone with a tripod or secure holder. Do not balance it somewhere it could fall onto the product. Frame the image with enough room to crop, while keeping the item large enough to inspect. Mark the position of the holder and the product with tape.
Amazon's own photography guide confirms that smartphones can be used for product photography. The value of the setup is that it removes avoidable camera movement and makes the lighting repeatable. You can read the platform's photography guidance alongside this workflow.
Use the main camera and avoid unnecessary processing
Clean the lens with an appropriate soft cloth. It sounds minor, but a smeared lens can soften every highlight and make a clean bottle look hazy. Use the rear camera and start with the normal photo mode rather than a beauty filter or artificial portrait blur.
Move the phone physically before reaching for digital zoom. If you get extremely close, check whether the camera changes lenses or distorts the product. A jar photographed too close can look wider at the front than it really is. Step back and compare the proportions with the sample.
Tap the area that needs to be sharp. Where your phone supports it, hold focus and exposure steady for a sequence. If it does not, take extra care to inspect every frame rather than assuming the settings stayed the same.
Use a timer or another hands-free shutter method available on your device. Pressing the screen can move a light phone holder just enough to soften a small label. Wait for the support to settle before taking the photograph.
Take a test frame and inspect it before continuing
Look closely at the product name, the far edge and any reflective surface. A photograph can look excellent as a small phone thumbnail while hiding glare across the only label the customer needs to read.
Ask three separate questions. Is the image sharp? Is the colour believable? Is the shape accurate? A photograph that passes only the first check is not ready. Compare the product on screen with the actual item in the same room, and avoid judging colour with the display set to an unusually warm night mode.
If the product is too dark, move a white card closer to the shadow side. If a highlight hides the label, turn the item or change the light angle. Resist the habit of fixing every problem with a filter. A filter cannot reveal a label that was hidden by glare at capture.
Capture a short, purposeful sequence
Once the test frame is right, take the front view and a small range of additional angles without moving the camera unnecessarily. Rotate the product in controlled steps. Keep the direction of the label and the product's upright position consistent.
Capture close-ups separately. Move closer only when you have finished the main sequence, and record where the camera started. For a lid mechanism, show enough surrounding product to make the detail understandable. An extreme close-up without context can be sharp and still leave the buyer confused.
Photograph all included components together as a reference. Even if that frame never appears publicly, it helps a designer or AI reviewer understand what belongs to the offer. Make another reference of the packaging if its artwork or quantity information matters.
Edit for accuracy and keep the original files
Make basic adjustments in a copy: straighten the product, correct an obvious colour cast and remove marks on the backdrop. Preserve meaningful texture. A matte surface should not become shiny, and a textured handle should not become perfectly smooth.
Be cautious with automatic object replacement and background generation. They can alter thin edges, change transparent parts or invent a reflection. Compare the edited file with the untouched capture, especially around handles, labels and seams.
Export from the editing app rather than taking a screenshot of the image. Keep the highest-quality master available, then prepare the delivery format and size required by your destination. For marketplace-specific rules, use the current image requirements checklist.
Know when the phone setup needs help
Some products are harder than others. Jewellery, polished metal, translucent plastics and large objects may demand more control than a window and phone holder can provide. A failed first attempt does not establish that the phone is the problem; identify whether the issue is reflection, scale, focus or lighting.
If the same issue remains after a controlled test, ask a photographer for help with that specific challenge. Sending the sample, reference frames and a written explanation is more useful than asking for something to look premium.
When you have a dependable source photograph, ListingBrain can help develop a coordinated set of supporting visuals from that reference and your product facts. It does not remove the need to review the result. Keep the original photograph beside generated outputs so you can check identity, proportions and included parts.
Before ending the session, open the files on a larger screen. It is much easier to retake one soft image while the product is still on the table than to rebuild the entire setup tomorrow.
Editorial photographs are credited beside each image. They illustrate the topic and do not represent ListingBrain customer results or an endorsement by a depicted person.