
In this guide
A kitchen tool can look excellent on a clean counter and still leave the buyer with the wrong idea. A compact pan may look larger beside a small plate. A utensil holder may appear to include the utensils used to style it. A glossy edit can make a textured handle look smooth. Those are information problems, even when the photograph is attractive.
Kitchen product photography works best when it explains the object in the space where someone will use it. A shopper wants to understand size, handling, storage and cleanup. The image set should answer those questions without asking them to estimate everything from one styled photograph.

Start with the everyday task
Write down what the product helps someone do. For a chopping board, that might be preparing ingredients on a small counter. For a utensil holder, it might be keeping frequently used tools within reach. For a storage container, it may be organising dry ingredients in a cupboard.
Then list the practical uncertainties. How much space does it occupy? Where does the hand go? Can the lid open in the intended location? Does the handle fit comfortably in a normal grip? These questions suggest photographs that add useful information.
Avoid planning the set around vague benefits such as better cooking or a premium kitchen. Those ideas can lead to attractive scenes with little product evidence. A photograph of the actual lid opening under a shelf is a clearer answer to a real question.
Make dimensions understandable without distorting scale
Measure the sample before creating a size image. Record which measurement is external, which is internal and whether handles or lids are included. A pan's advertised diameter does not necessarily explain its usable cooking area, so keep the meaning of each number clear.
Use the right viewpoint for the dimension being shown. A top-down photograph can explain the footprint of a board. A side view can explain height. A dramatic wide-angle composition may make the nearest edge appear much larger and undermine the measurement labels placed around it.
Include a familiar object only when it improves understanding. A hand, plate or standard cupboard shelf can provide context, but those references vary. The measured dimension remains the reliable part. If you include both, make sure the visual scale agrees with the numbers.
Photograph materials as they really look
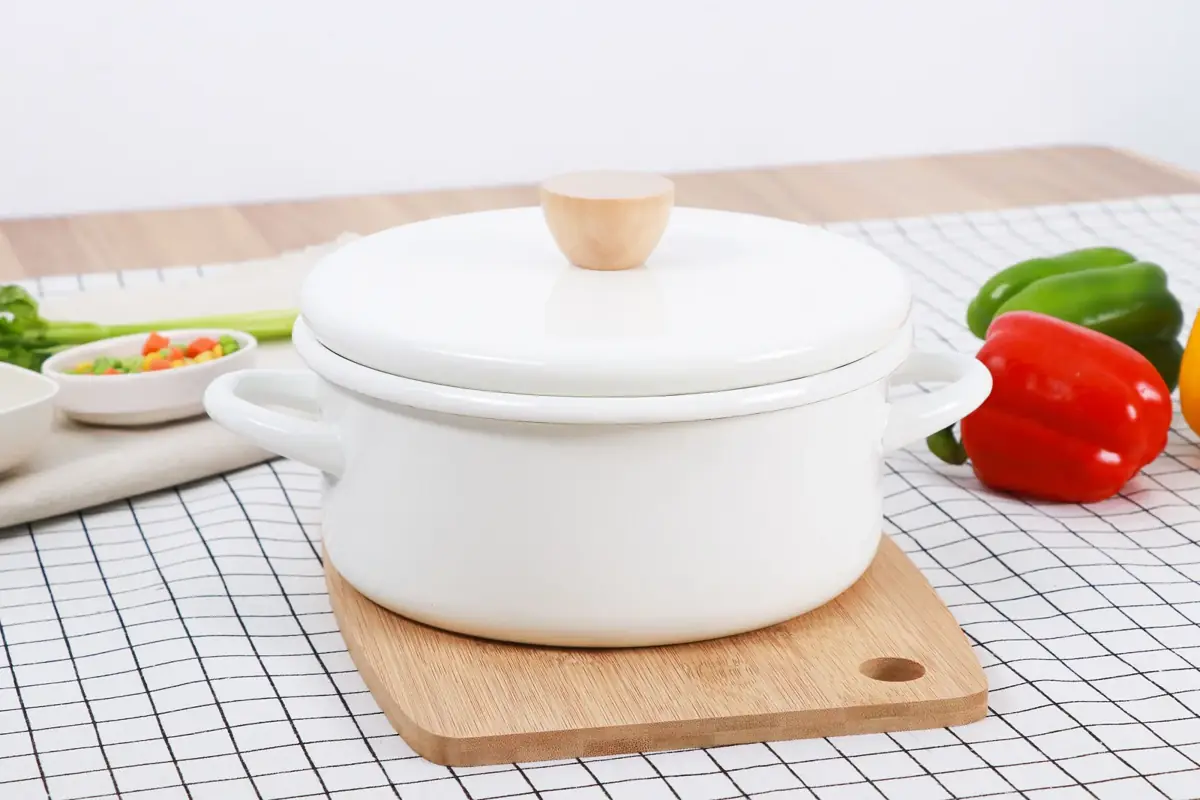
Wood, brushed metal, matte plastic and glazed ceramic need different treatment. The light that reveals wood grain may create an unhelpful reflection on polished steel. Photograph a small test before committing to the complete setup.
For a wood product, preserve variation rather than smoothing the surface into a uniform colour. If natural grain varies between units, choose a representative sample and avoid presenting an unusually perfect piece as the only possible appearance.
For metal, move the light until the reflection describes the shape without hiding it. A long highlight can make a curved handle readable. A bright spot across the only visible fastening point can conceal a useful construction detail. Think about what the reflection is teaching the viewer.
Do not use an image edit to imply a material upgrade. A plastic part should not become metallic, and a thin wall should not appear heavy simply because the lighting looks more expensive. Save the original photograph and compare it against the final version.
Show the action at a useful moment
Choose a moment where the product's job is visible. For a measuring cup, that might be the scale facing the camera during a pour. For a garlic press, it might be the grip and mechanism rather than a pile of prepared ingredients hiding the tool.
Check the manufacturer's intended use before staging heat, liquids or cleaning. A photograph should not imply oven use, dishwasher suitability or heat resistance unless those details are verified. Keep the scene within the product's documented use rather than relying on what similar products can do.
Food styling should support the product. Too much food can hide the usable surface, make a container appear larger or obscure the edge that explains its shape. Start with fewer props, then add only what makes the action easier to understand.
Make the included items unmistakable
Create one reference frame containing every component that ships with the product. If the offer includes three tools, show the correct three. If a lid is optional or belongs to another variation, keep it out of that frame.
Use the rest of the image set consistently. A lifestyle scene featuring accessories can still be useful, but it should not contradict the clear view of the offer. If confusion remains, change the composition rather than hiding a clarification in tiny text.
Pay attention to bundles. Different handles, colours or sizes may be present in the same catalogue. Store approved images by variation so a designer does not accidentally combine the handle from one version with the body from another.
A working brief for a fictional chopping board
Here is a planning example for a board described as 35 by 25 centimetres. The dimensions are illustrative and should never be copied into a real listing without measurement.
| Image | Question it answers | What the brief should specify |
|---|---|---|
| Clear product view | What exactly is the item? | Full outline, actual grain and correct finish |
| Footprint image | Will it fit my counter? | Verified length and width, restrained perspective |
| Preparation scene | How does it work in a normal kitchen? | Representative ingredients and visible working area |
| Detail view | What does the construction look like? | Actual edge, groove or handle detail |
| Storage view | Where can I keep it? | Real thickness and believable shelf clearance |
| Included-items view | What arrives in the package? | Exact board and any verified accessories |
The same thinking applies to other products, but the image plan should change with the task. A grinder needs different evidence from a dish rack. Use the questions to decide the sequence, rather than copying a competitor's layout mechanically.
Keep generated scenes connected to measurements
AI-assisted scenes can be useful for exploring composition, but kitchen products make scale errors particularly noticeable. A pan can become deeper, a board can gain a groove and a handle can attach at the wrong angle. Compare those details with the sample before approving an image.
Supply verified measurements and clear reference photos to the creative workflow. If the result cannot preserve the product, use a different output or a real photograph for that slot. A convincing scene is not enough when the item itself has changed.
ListingBrain's product image workflow can help create supporting visuals from a reference and supplied details. Use the image accuracy guide to keep final review tied to the actual item.
Before publishing, ask someone who has not worked on the photographs to identify the product, included quantity and main dimensions. Their uncertainty is useful feedback. Fixing that uncertainty is usually more valuable than adding another decorative scene.
Editorial photographs are credited beside each image. They illustrate the topic and do not represent ListingBrain customer results or an endorsement by a depicted person.