

In this guide
A background-removal tool can isolate a bottle in seconds and still leave you with a worse product photograph. The cap has a pale halo, the transparent shoulder looks solid, and the bottle appears to float. At normal screen size the result seems clean. Enlarged beside the original, the problems become obvious.
The useful goal is to remove the environment while preserving evidence of the product. Shape, surface texture, small attachments and transparent areas should remain recognizable. For an Amazon listing, a technically white background is only one part of the job. The item itself must still be represented accurately.

Start with an original you can trust
Choose the largest original file available, ideally from the camera or phone rather than a messaging-app download. Check focus before editing. If the printed label is soft in the source, removing the background will not recover its lettering. A reshoot often takes less time than repairing a poor reference.
Look for contrast around the edges without changing the product's colour. A white object photographed against a bright white wall can have disappearing contours. A reflective object may contain the room within its surface. Neither issue is a simple selection problem. Adjust lighting or capture another angle before spending an hour drawing a mask.
Keep the untouched original in a separate folder. Work on a duplicate or use a mask that can be revised. This creates a reliable way to compare the cleaned version with the physical item and makes later packaging or variation updates easier.
Make the first selection, then refine it
Automatic subject selection is a starting point. Zoom in and inspect the complete perimeter, including the underside, the hole in a handle, and gaps between components. Large straight surfaces may need only small corrections. Chains, brushes, woven fibres and translucent edges need more attention.
Use a harder edge where the real product has a crisp boundary, such as a metal lid. Use a softer transition where the image naturally contains fine fibres or slight optical softness. Applying the same heavy feathering to the entire object can make a sharp item look out of focus.
A useful inspection trick is to temporarily place several solid colours behind the cutout: white, dark grey and a saturated colour. A white halo may disappear on white but reveal itself immediately on dark grey. The temporary backgrounds are review tools, not additional listing graphics.
- Inspect corners for missing product material.
- Inspect curved edges for visible stair steps.
- Check internal holes separately from the outside silhouette.
- Remove background contamination without repainting the product edge.
- Compare the result at both enlargement and normal viewing size.
Treat transparent materials differently
Glass and clear plastic contain information from the original scene. Selecting their outside edge and deleting everything behind them creates an opaque-looking object. The transparency must be considered within the product boundary as well as outside it.
For example, a clear storage jar may need the background visible through its centre while retaining the rim, reflections and thicker base. Those features tell the eye that the jar is transparent. Erasing every dark contour can make the item vanish; keeping every grey patch can make it look dirty.
When a source photograph contains strong coloured reflections through the object, a cleaner capture may be the sounder choice. Do not invent a different glass thickness, tint or fill level to make the extraction easier. These details affect what buyers think they are ordering.
Separate the object from its shadow
A contact shadow explains where an object touches a surface. A large scenic shadow can also contain distracting background texture. Treat these as separate decisions rather than preserving or deleting all shadows automatically.
For a supporting image, a restrained contact shadow can help the product feel grounded. Its direction and softness should agree with the visible lighting. A bottle lit from the left should not acquire a dramatic shadow pointing left. Avoid applying the same preset shadow to items photographed at different angles.
For the main image, check the current requirements for the category and marketplace before deciding how the finished background and shadow should appear. Amazon's product photography guidance describes white-background product presentation, and its product image guide is the place to verify current rules. Do not assume that a photograph is acceptable simply because a background-removal app exports it.
A worked example: a small pump bottle
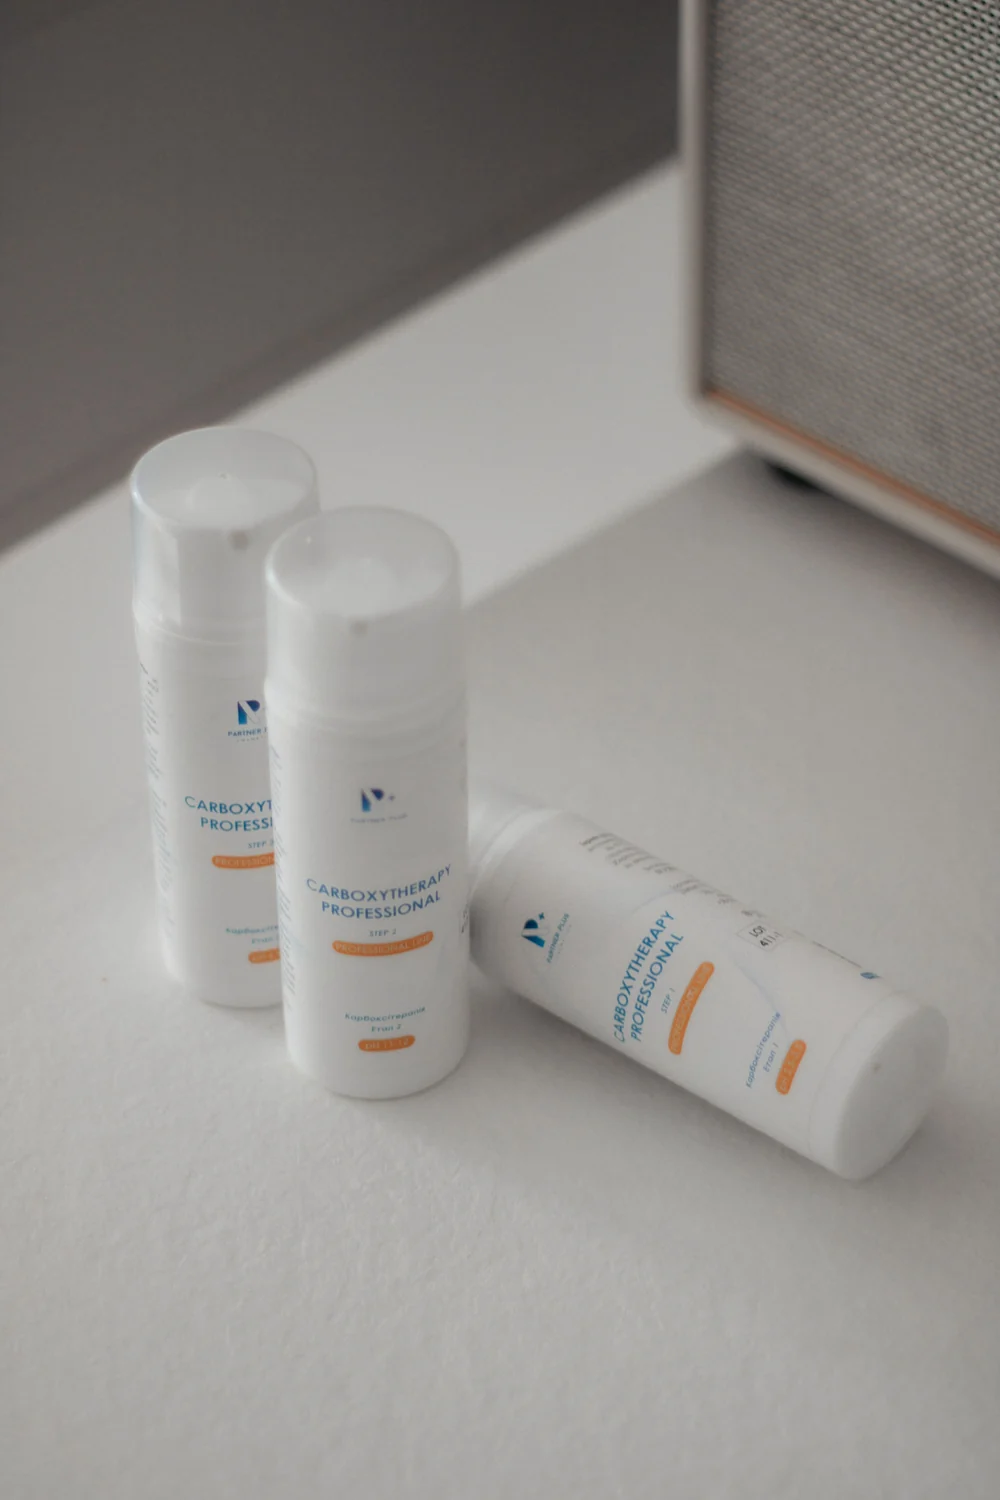
Imagine a pump bottle photographed on a beige tabletop. The original has a readable label, a clear shoulder and a thin tube visible inside. The first automatic cutout removes the tabletop well but cuts into the nozzle and leaves beige colour visible through the shoulder.
First restore the nozzle from the original mask. Next refine the shoulder transparency while preserving the tube and glass contours. Check that the bottle width and pump height have not changed. Finally review the bottom edge against white; a narrow, natural transition should not become a thick grey outline.
Export a proof and ask a second person to compare it with the original. Their question is specific: does this look like the same bottle? Ask them to inspect the pump, label, colour and visible liquid level rather than giving a general opinion about whether it looks polished.
Export a master and a listing version
Keep a layered working file or another editable master with its mask. A transparent PNG can be useful when the product will later be placed into an infographic or supporting layout. A flattened version against the intended background serves a different purpose. Name them so nobody uploads a transparent working asset by mistake.
Review the final export rather than relying only on the editor preview. Compression and resizing can reveal halos or soften edges. The image resizing workflow explains how to check a delivered file after scaling, while the white-background photography guide helps you improve the source capture.

Keep retouching notes with the file
Record any areas that required special treatment. A short note such as “clear shoulder refined manually; pump restored from original” helps another editor understand what to preserve when the label changes. Include the reference filename and revision date. If the product later arrives with a different cap, the team can replace the relevant source rather than stretching the old cutout into a new shape.
For a batch, approve one representative sample before extracting the remaining products. Review both an easy edge and the most difficult material in the range. Consistency should mean applying the same quality standard, rather than forcing glass, fabric and metal through identical settings.
Use a clear cutout as a production asset
A verified product cutout is useful source material for gallery layouts and A+ planning. With ListingBrain, you can use a product reference to develop a coordinated visual set, then review every output against that same reference. Background cleanup does not remove the need to check generated labels, accessories and proportions.
Before approval, confirm that the complete item remains visible, fine details survived the selection, transparent material still reads correctly and the export has no distracting fringe. The strongest result looks ordinary in the best sense: buyers see the item clearly, without noticing the editing.
Editorial photographs are credited beside each image. They illustrate the topic and do not represent ListingBrain customer results or an endorsement by a depicted person.