
In this guide
- Confirm that the sample matches the current shipment
- Decide where the package belongs
- Light printed surfaces so the wording stays readable
- Make typography readable through capture, not reconstruction
- Show contents separately from presentation
- Keep scale consistent between the box and the item
- Retouch handling marks without promising an impossible surface
- Build a brief around one boxed candle
- Use supporting layouts with a product-truth check
Packaging can explain a product, protect it and make it feel ready to give. It can also hide the item, make the offer look larger than it is or place important information on an unreadable label. Product packaging photography works when the box and the product each have a clear role in the image set.
Before shooting, decide why the customer needs to see the packaging. A gift buyer may care about presentation. Someone comparing bottle sizes may need the unit quantity. A buyer ordering replacement components may care much more about the actual contents. Photograph the package to answer those questions, rather than adding it to every frame because the artwork looks attractive.
Confirm that the sample matches the current shipment
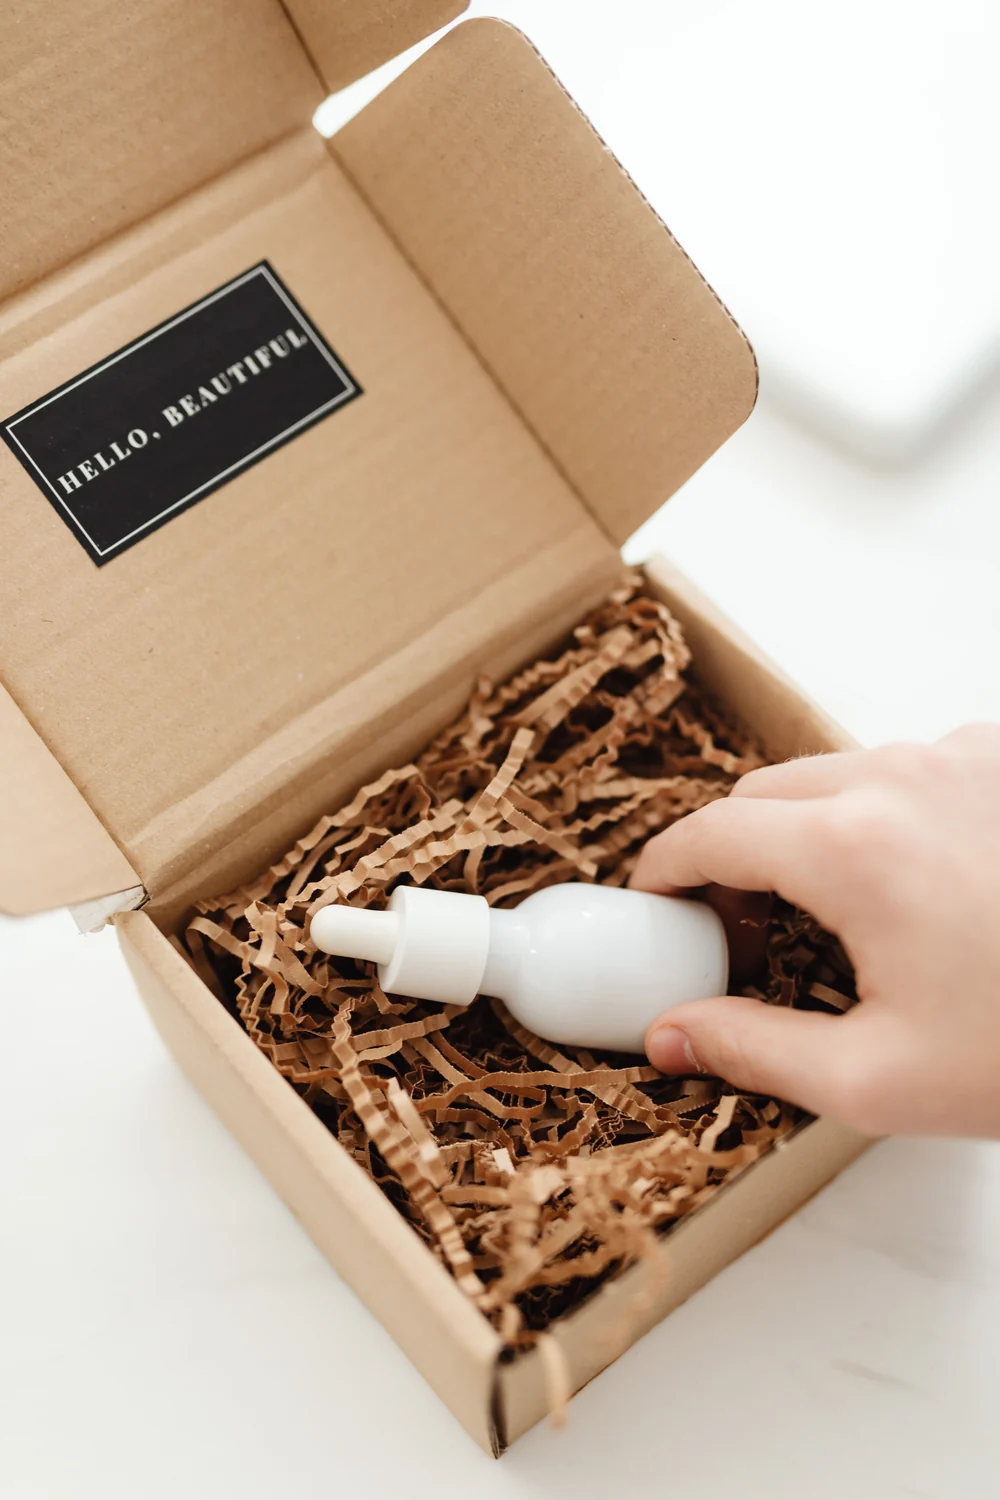
Start with the package customers actually receive. Check the printed quantity, product name, artwork revision, closure, insert and supplied accessories. A pre-production mockup may contain older claims or a different label. Keep its photographs clearly separated from approved production images so they cannot accidentally become final listing assets.
If the package varies by region or configuration, record that with the SKU. Do not combine a product from one version with the more attractive box from another. Open one sample and compare every visible part with the current specification. This small check prevents a polished photograph from presenting a bundle that cannot be purchased.
Decide where the package belongs
Review Amazon's current Product image guide and the category-specific guidance before using packaging in the main image. Treat the clean main-image asset separately from supporting views of presentation, label detail and unboxing. The right decision depends on the product and applicable rules, not on a general preference for boxed or unboxed photography.
For supporting images, consider a simple progression: the product itself, a useful package view, the opened package and its contents, and one detail that explains the material or closure. You may not need every view. If a box adds no purchase-relevant information, a stronger product photograph can use the space better.
Light printed surfaces so the wording stays readable
Glossy cartons, foil lettering and curved labels can reflect a light source directly into the camera. Move the light or product slightly and watch whether the key information becomes readable. A large diffused source often gives a more manageable reflection than a small bare light. Keep the label plane as readable as possible while preserving the package's shape.
Do not remove every reflection indiscriminately. A subtle highlight may explain a satin coating or embossed area. The aim is to reveal the finish without turning it into a white patch. Photograph the same detail with slightly different lighting positions, then choose the frame that best represents the actual surface rather than the one with the strongest shine.

Make typography readable through capture, not reconstruction
Use enough resolution and stable focus to record the real label. If an important panel is small, take a dedicated close-up rather than relying on a tight crop from the full scene. Align the camera carefully to avoid severe perspective distortion. For a curved bottle, turn it until the relevant wording is as legible as the physical shape allows.
Avoid redrawing label text from memory or using an automatic edit that invents new characters. The product photograph should preserve the printed information. If a supporting layout also repeats a factual detail as normal typeset copy, verify that wording against the approved product source. See our image copywriting guide for a restrained hierarchy that keeps product evidence central.
Show contents separately from presentation
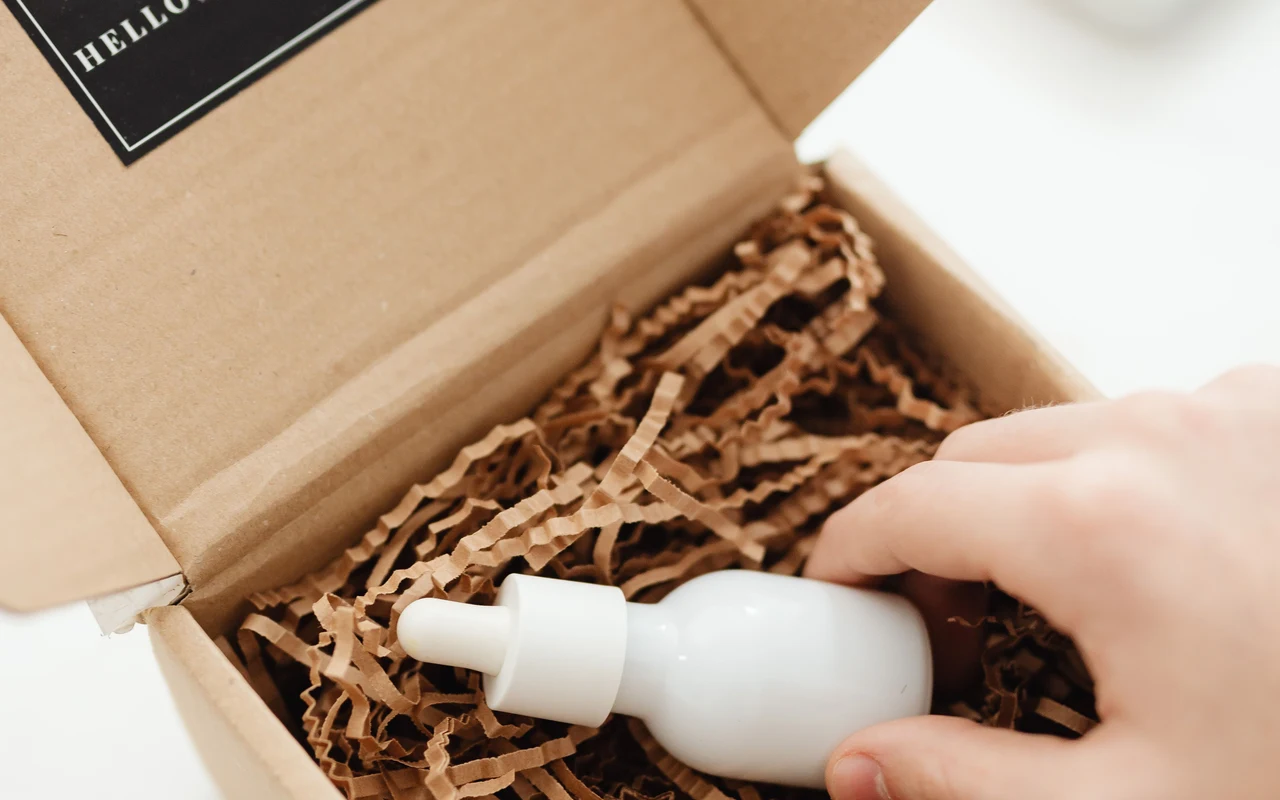
An attractive box does not establish what is inside it. Photograph the open package and arrange the contents in a countable way. Keep small components visible and show whether an insert, case or accessory is actually included. If the box is primarily a shipping container, avoid presenting it like a reusable storage accessory unless that is a supported product feature.
For a gift set, distinguish decorative scene props from the supplied packaging. A ribbon added by the photographer may create the expectation of a gift-ready order. Use the genuine supplied ribbon or omit it. Our contents image guide helps separate the exact offer from styling that can confuse a buyer.
Keep scale consistent between the box and the item
Compositing a product and its box from separate photographs can subtly change their relative size. If possible, capture them together as a reference before making individual cutouts. Use that reference to check the final arrangement. A bottle should not look as tall as its actual outer carton if the carton is noticeably larger.
When dimensions matter, state which object is being measured. Product dimensions, retail box dimensions and shipping package dimensions answer different questions. Do not place one number beside another object simply because the layout has room there. Explain the measurement visually and keep the labels precise enough for a shopper to compare the right thing.
Retouch handling marks without promising an impossible surface
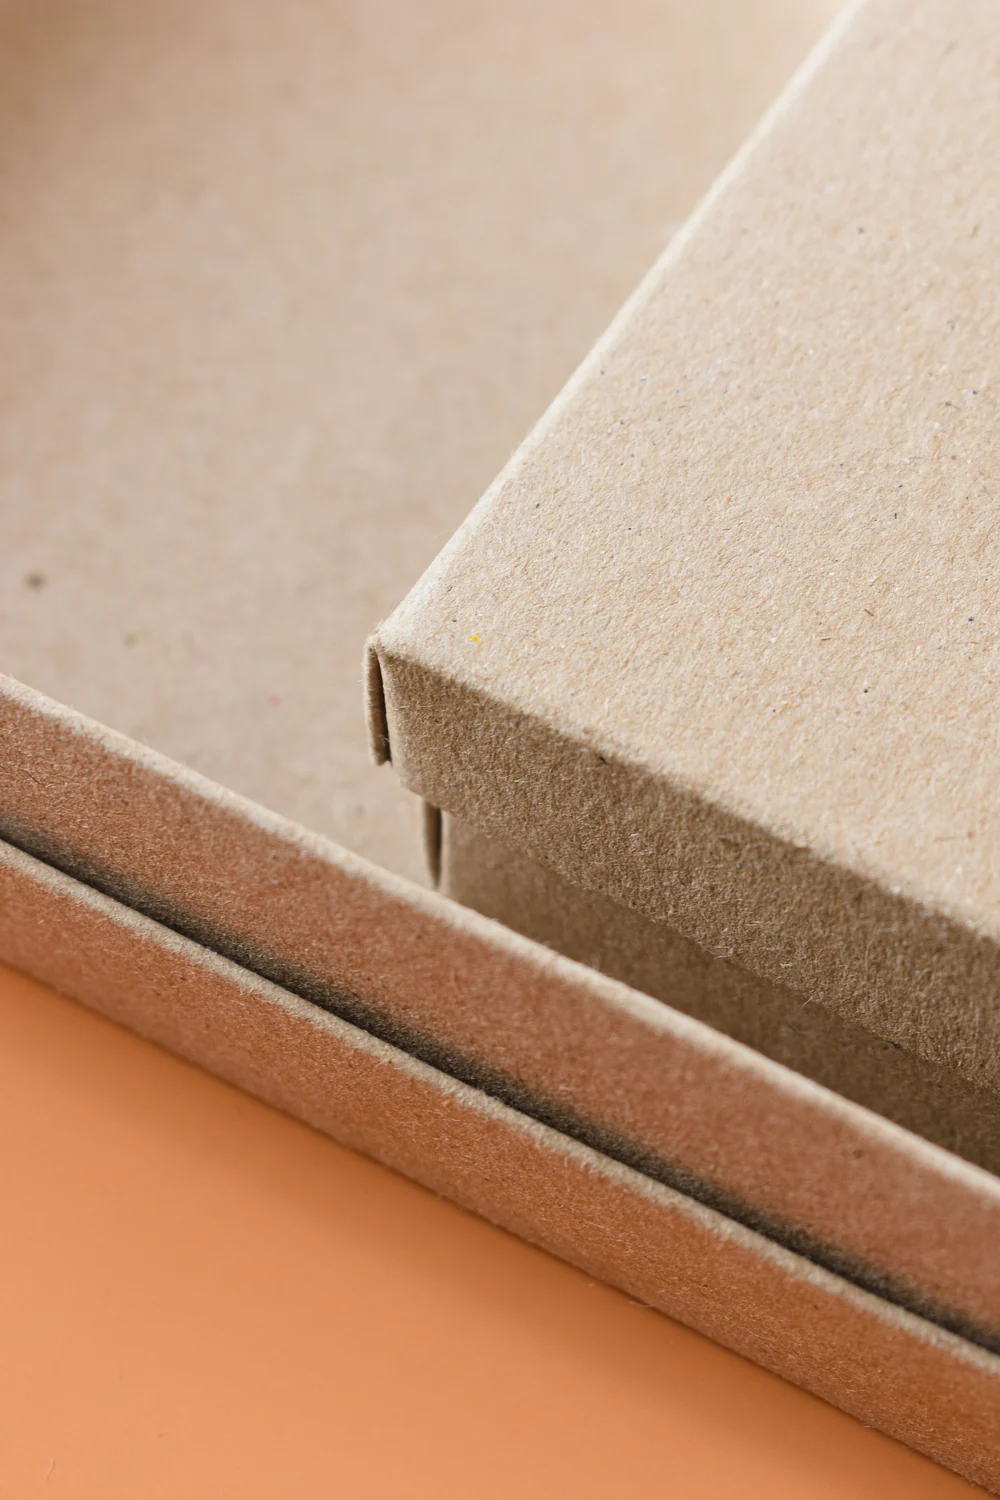
A fresh approved sample is usually the best starting point. Remove temporary dust and fingerprints, but preserve the real printing, seams, folds and material texture. Over-smoothing a cardboard box can make it look like a rigid plastic case. Aggressive sharpening can make ordinary fibres and print dots look like defects.
If the sample is damaged enough that its shape no longer represents normal stock, obtain another sample rather than rebuilding the package extensively. Cosmetic cleanup should not conceal a recurring production problem. Keep an unedited reference so the person approving the image can see the difference between a photographic correction and a material change.
Build a brief around one boxed candle
For a candle supplied in a printed carton, the brief might ask for an unobstructed candle view, a supporting arrangement with the actual carton, a close-up of the label and lid, and an opened-package photograph showing exactly what arrives. If the finish of the vessel matters, photograph that surface without letting the box dominate it.
The brief should also state what must not change: label wording, vessel proportions, wax appearance, lid design and carton colour. This gives a retoucher or designer a concrete reference. It is more useful than asking for a premium look and discovering later that the premium treatment replaced a real detail with an invented one.
Use supporting layouts with a product-truth check
You can use ListingBrain to explore a coordinated supporting gallery from approved photographs. Keep packaging text under close review: generated labels and small print can look plausible while being wrong. Compare the full item, lid and box arrangement against the original references before approving an output.
Finish by checking the gallery on a phone. Can the buyer identify the product without deciphering the box? Is the relevant label readable in its detail view? Are contents and quantities clear? Do all images show the current packaging version? When the answers are yes, the package supports the product story instead of standing in its way.
Editorial photographs are credited beside each image. They illustrate the topic and do not represent ListingBrain customer results or an endorsement by a depicted person.