

In this guide
- Measure the product that will actually ship
- Choose the two or three dimensions that decide fit
- Use views that make the arrow directions obvious
- Label units and distinguish external from usable space
- Add scale context without making it the measurement
- Check the exported image against a simple fit scenario
- Keep measured facts fixed when using AI
A storage tray can look perfect in a photograph and still fail the only test that matters: fitting inside the customer’s drawer. A dimensions image closes that gap. Its purpose is to let someone compare the actual product with a real space, quickly and without guessing which edge a number describes.
This is a supporting-image planning guide, not a replacement for category requirements. Keep measurement graphics separate from your clean main-image photograph and check the current Amazon product image requirements before publishing. The practical work starts with a ruler and a sample of the exact item being sold.
Measure the product that will actually ship
Work from a current production sample, not an early prototype or the outside of its shipping carton. Establish what each number means: assembled height, folded length, overall width, usable opening or internal storage depth. These can all be valid measurements, but they answer different questions. A buyer comparing shelf clearance needs overall height; a buyer storing a large object needs internal clearance.
Write the measurements in a small source sheet with the SKU, variation, sample date, unit and person who checked them. Record the tool and measurement method when it affects the result. For a soft bag, say whether you measured it flat or filled. For an adjustable stand, record both limits and the conditions under which each was measured.
Do not turn one sample measurement into a manufacturing tolerance claim. If the supplier specifies a verified tolerance, preserve it accurately. Otherwise, keep the image factual and avoid implying laboratory precision. A dimension displayed to three decimal places looks authoritative even when the underlying measurement came from a flexible tape.
Choose the two or three dimensions that decide fit
Begin with the buyer’s physical task. A drawer organiser needs width, depth and height. A bottle may need overall height and maximum diameter, while a lid accessory may require the inner opening diameter. A wall bracket needs mounting-hole spacing as well as the visible outer size. More labels are not automatically more helpful.
Prioritise the measurements that could make the product unusable. Include a second view when the critical information lives on another face. Trying to show front width, rear mounting points and side clearance on one dramatic perspective image usually produces crossing arrows and tiny labels.

For products that open, swing or extend, distinguish the static footprint from operating space. A lid may add height when raised. A folding rack needs clearance during assembly. Use a separate labelled view instead of quietly folding that extra space into a number the buyer might interpret as the object itself.
Use views that make the arrow directions obvious
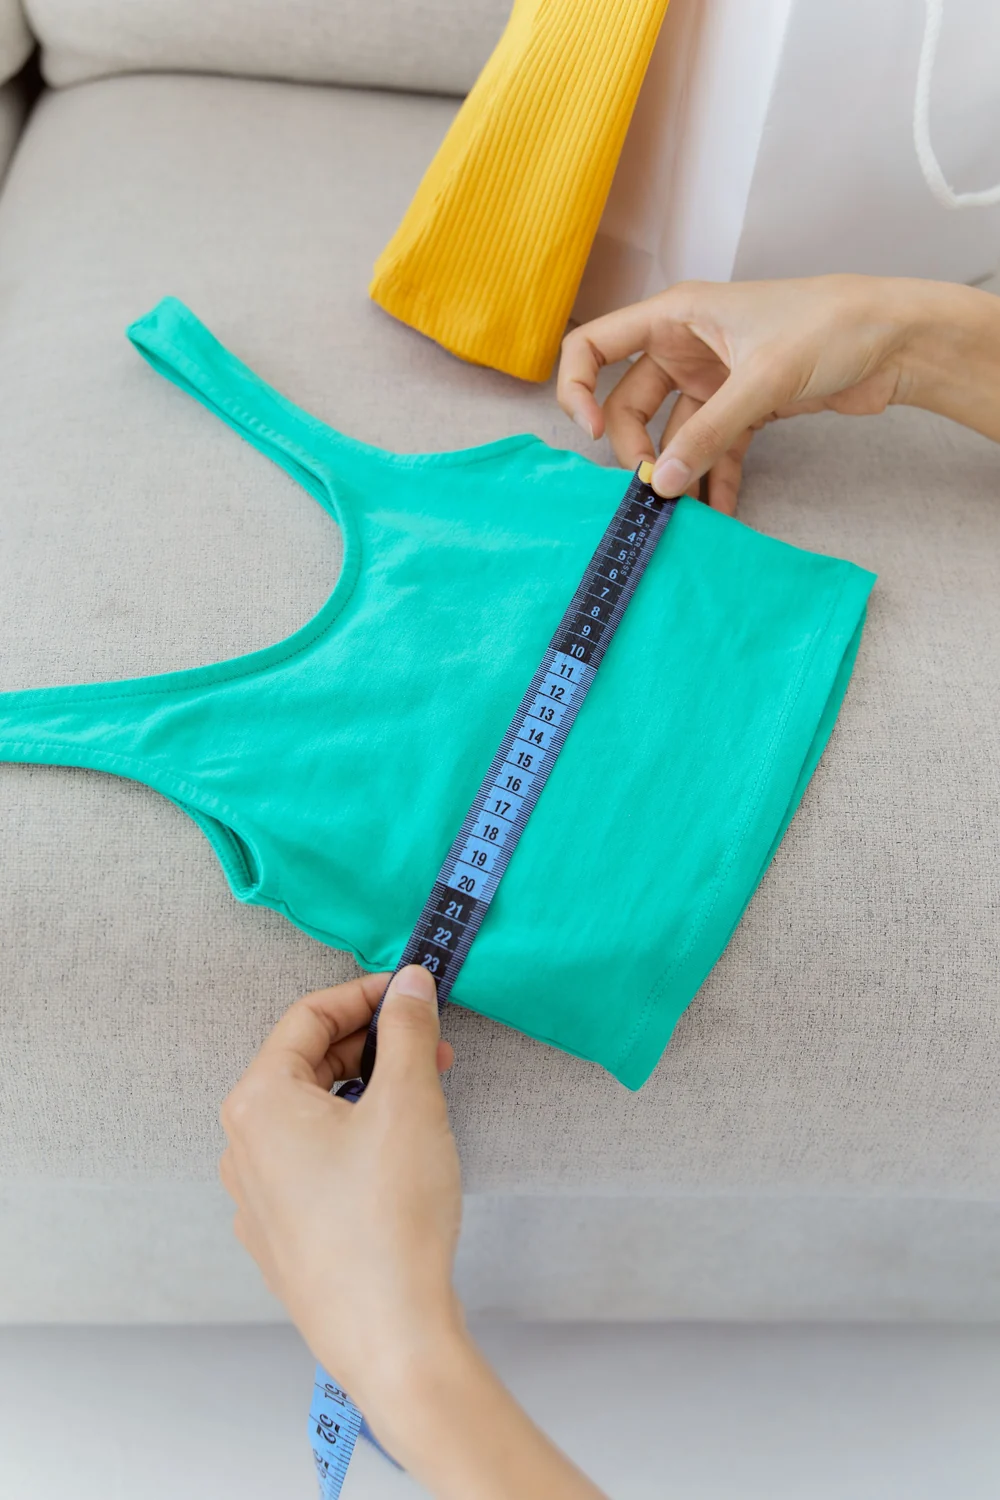
A straight front view works well for width and height. An overhead view explains a rectangular footprint. A side view clarifies thickness, projection and handle depth. You can use a clean perspective photograph, but keep arrows aligned with the physical edges they measure. The arrow should end at a recognisable part of the product.
Keep dimension lines outside the item where possible and use short extension lines to connect them to the relevant edges. Avoid placing a long width arrow across a patterned surface where it disappears. Give every number enough empty space to remain readable after the image is reduced on a phone.
If you use a drawn outline, label it as a measurement diagram and keep its proportions faithful. Do not stretch the product to make a layout fit. A polished diagram with inaccurate proportions can undermine an otherwise correct measurement, particularly when buyers also use the shape to estimate capacity.
Label units and distinguish external from usable space
Put units beside each measurement or in a clearly visible shared heading. Do not expect shoppers to infer whether 12 means centimetres or inches. When showing both systems, calculate from one verified master value, use consistent rounding and check every conversion independently. Uncoordinated rounding can make related dimensions appear contradictory.
| Label | What it should mean | Common confusion |
|---|---|---|
| Overall width | Widest outside points, including fixed projections | Handle or flange omitted |
| Usable interior | Clear space available for the intended object | External size presented as capacity |
| Mounting spacing | Distance between specified hole centres | Edge-to-edge measurement substituted |
| Folded size | Product in its stored configuration | Confused with assembled footprint |
A useful fictional tray graphic might say “Outside: 30 × 20 × 6 cm” and “Usable base: 27 × 17 cm”. Those figures are illustrative, not a recommended product specification. The important design choice is naming the two measurements so customers understand why they differ.
Add scale context without making it the measurement
A hand, countertop or room scene can help shoppers understand scale, but it is a supporting cue. Hands differ, room photography distorts perspective and stock props may not have standard dimensions. Keep verified numbers as the source of truth. If the scene and the diagram seem inconsistent, investigate rather than asking the numbers to overrule the photograph.
For a product available in several sizes, keep the same camera setup and crop logic when comparing variations. Enlarging every size until it fills the frame equally can erase the very difference the customer needs to see. A dedicated side-by-side size comparison is often clearer than several unrelated lifestyle images.
Use the gallery sequence guide to place size information early enough to matter. If fit is the main purchase risk, the dimensions image should not be hidden behind several decorative benefit frames.
Check the exported image against a simple fit scenario
Ask someone who did not design the image a practical question: “Would this fit a space 31 cm wide and 7 cm high?” Listen to how they find the answer. If they ask whether a number includes the handle, you have found a missing label. If they need to zoom repeatedly, reduce secondary detail and enlarge the essentials.
Review the final exported file rather than the working document. Check every digit against the source sheet, confirm that arrows still connect to the correct edges and inspect the image at a realistic mobile size. Keep the approved measurement sheet with the image so the next designer does not have to reverse-engineer facts from pixels.
- Exact SKU and variation confirmed.
- External, internal and operating dimensions labelled separately.
- Units and conversions checked.
- No arrow implies an unmeasured feature.
- All important labels readable on a phone.
- Final artwork approved by someone who can verify the product.
Keep measured facts fixed when using AI
Use AI to explore layout, hierarchy or scene options, while treating verified measurements as locked inputs. Generated text and arrows still require manual checking. Never infer a physical dimension from a product photo alone: perspective, crop and unknown reference size make that unreliable.
ListingBrain can help develop a coordinated set of supporting visuals from product references and supplied details. Use the verified dimensions sheet during review, and correct any discrepancy before export. For a wider source-material checklist, see the product photography shot list.
When the product changes, treat its dimension graphic as a document that needs updating. A new handle, thicker foot or revised lid can invalidate the old image even when the product name stays the same. Good dimensions artwork earns trust by remaining boringly accurate.
Editorial photographs are credited beside each image. They illustrate the topic and do not represent ListingBrain customer results or an endorsement by a depicted person.