
In this guide
A tiny product can fill an entire listing image and still leave the shopper unsure what it is. A close-up of a small fastening clip shows its surface beautifully, but without another view the buyer may imagine an item several times larger. The opposite problem is equally common: the product is so small within a lifestyle scene that its important features disappear.
Amazon listing images for small products need two complementary views. One explains detail; another explains scale. Add clear quantities and included components, and the buyer can connect the enlarged image with the object that will arrive.
Choose the details that affect the purchase
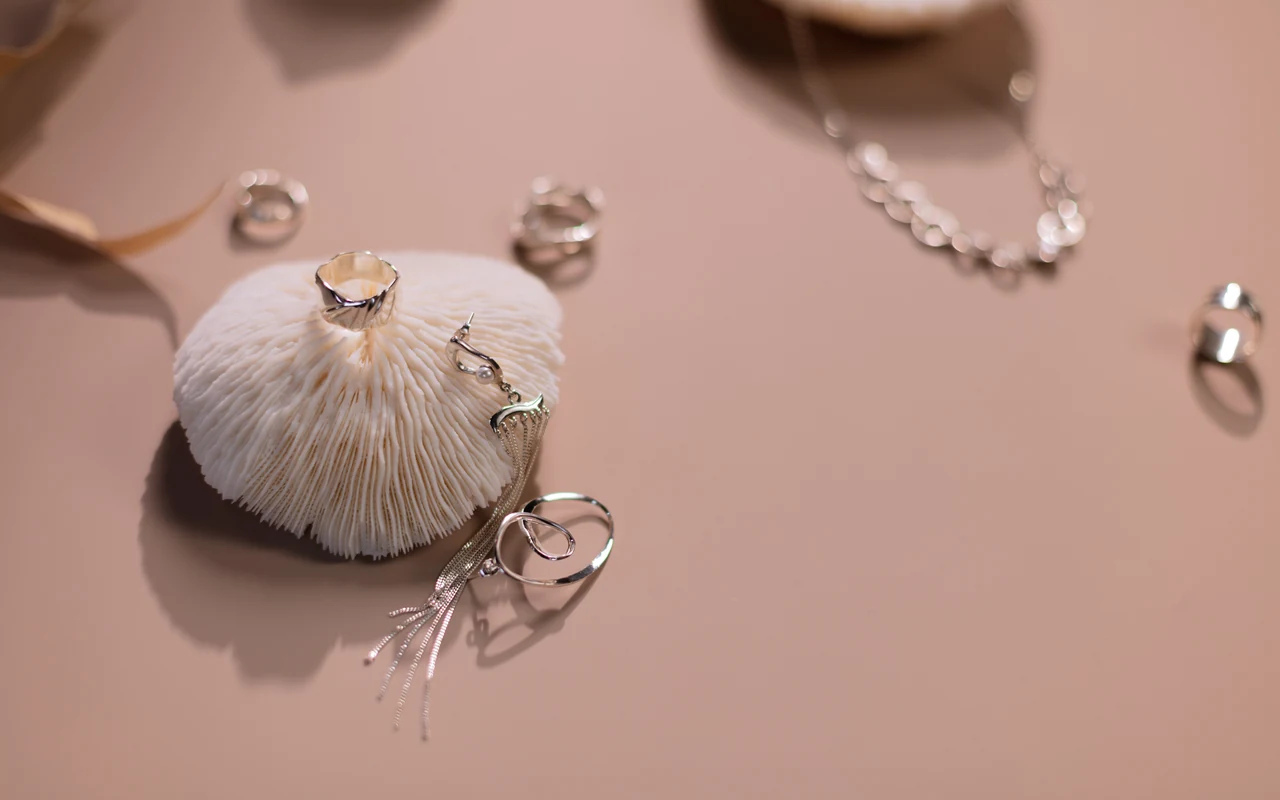
Before choosing a lens or background, identify which small details matter. A connector may need its pin arrangement visible. An earring needs its fastening, finish and profile. A craft component needs the hole diameter and usable shape. Photograph those details deliberately rather than making every image an attractive front view.
Handle the sample carefully. Dust, fingerprints and tiny scratches become conspicuous when a small object is enlarged. Clean using a method appropriate for the material, inspect the sample under useful light and keep spare examples available when possible. Do not retouch away a permanent feature that buyers need to see.
Make a simple list of fixed facts: length, width, thickness, weight if relevant, quantity and included accessories. Verify them against the actual SKU. A small measurement error can make a large practical difference when the product is intended to fit another part.

Capture close views without distorting the item
Use a stable support and enough light to work comfortably. On a phone, moving extremely close can prevent focusing or introduce distortion. Try a slightly greater distance and use the best suitable camera mode, checking the resulting detail rather than relying on the live preview.
Keep the important surfaces within the useful focus area. A dramatic shallow-focus image may show the front edge crisply while hiding the mechanism behind it. That can be attractive editorial photography, but it is weak evidence if the mechanism is what the buyer needs to inspect.
For a product with depth, take several angles. A straight view establishes shape, a side view explains thickness and an open or rear view can explain operation. Keep lighting and colour treatment consistent so the item does not appear to change between frames.
Give scale its own image
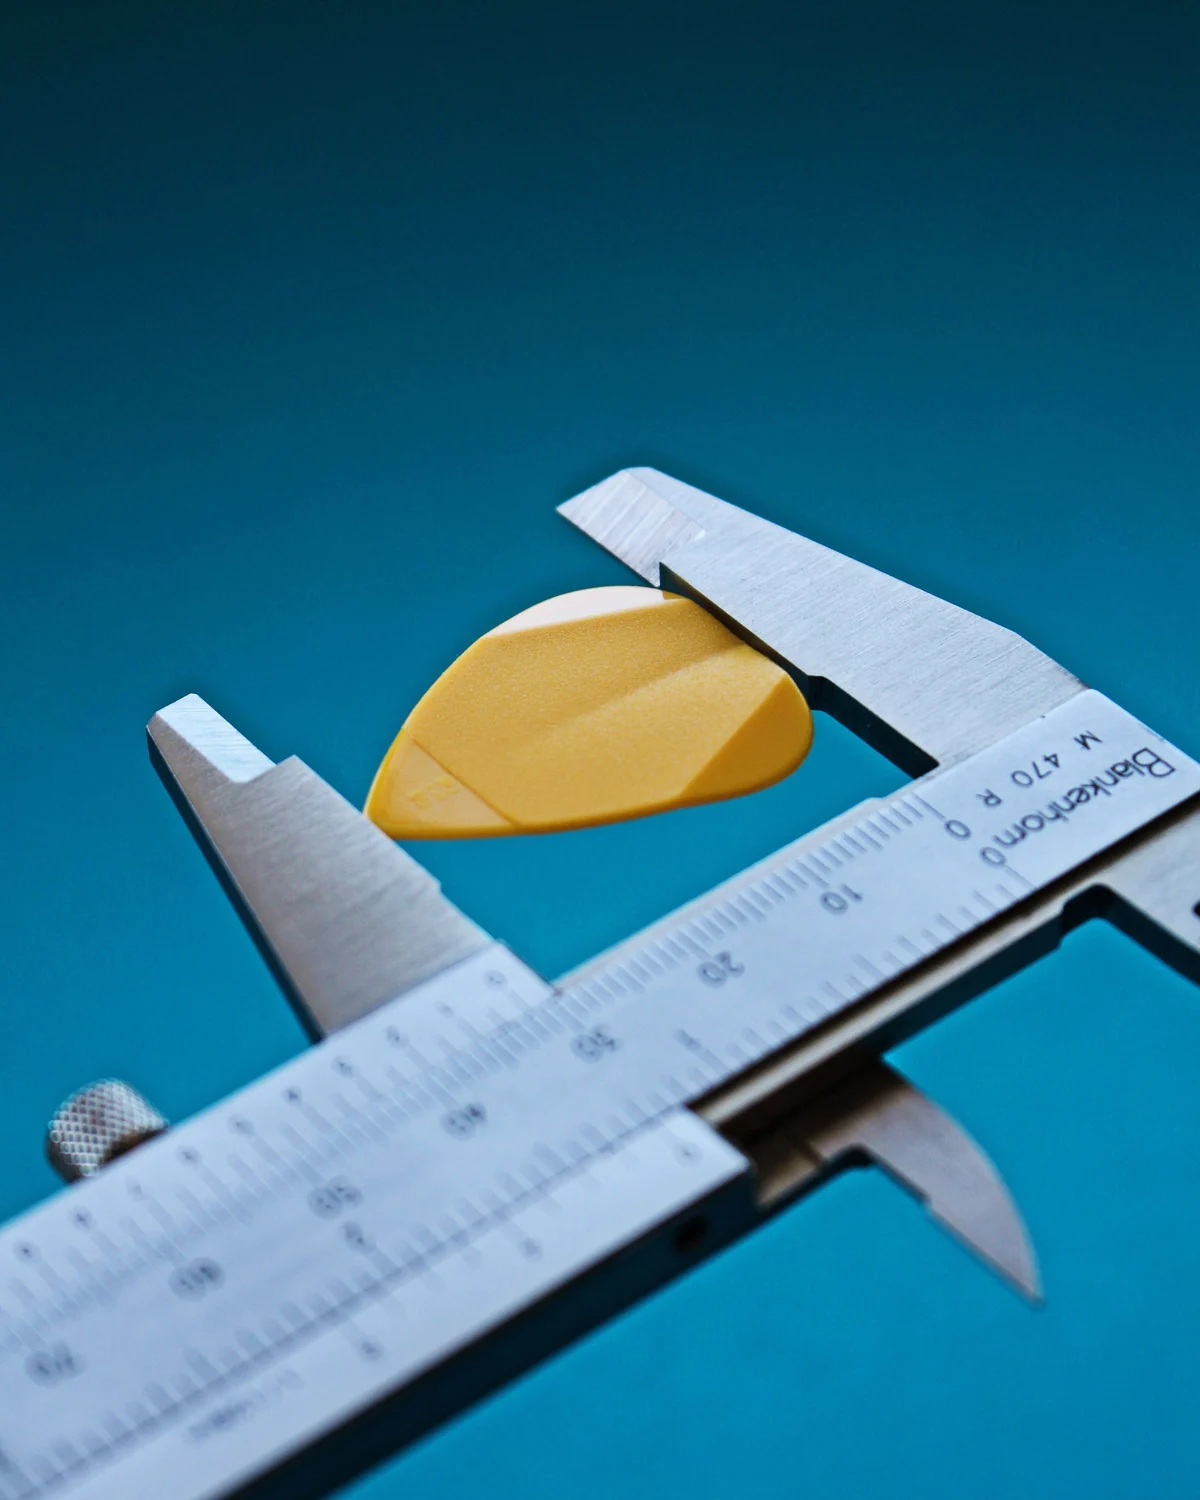
A dedicated dimensions graphic is usually clearer than squeezing tiny arrows into a detailed macro photograph. Use a view that makes the measured directions understandable. Label the overall length, width and thickness where relevant, and distinguish external dimensions from internal openings.
Use a familiar context only when it genuinely clarifies scale. A hand can help, but hands vary and perspective can exaggerate size. A ruler or another carefully chosen reference may be useful in a supporting image when appropriate for the category. Do not put unapproved props or dimension graphics into the main image.
When a dimension determines compatibility, explain exactly what is being measured. “12 mm” beside a small fitting is ambiguous. “Opening diameter: 12 mm” or an equally precise verified label tells the buyer which feature matters. Read the dimensions image guide for a more detailed measurement workflow.
Make quantity impossible to misread
Small products often sell in multipacks, and repeated objects can be mistaken for alternate views. Establish the delivered quantity with an organized contents image. If the pack contains ten clips and two spare pads, show those groups clearly and use accurate supporting labels where allowed.
Do not scatter twenty units across a decorative composition when the listing sells four. Likewise, do not show several colour options together without making the purchased variation clear. The photograph should support the current offer rather than suggest a larger assortment.
| Visual question | Useful image | Common misunderstanding |
|---|---|---|
| What is the exact object? | Clean individual product view | Several angles look like several units |
| How small is it? | Verified measurements and context | Macro crop implies a larger product |
| What comes in the pack? | Grouped contents view | Props look like included accessories |
| How does it connect? | Close mechanism or rear view | Wrong attachment type is assumed |
A worked gallery for a fictional cable-clip pack
Imagine a fictional six-pack of adhesive cable clips. Start with a clear product presentation that matches the current variation and applicable main-image rules. Then show a close view of the channel so the shopper understands the shape. A third image explains the verified opening and overall dimensions.
The next frame shows all six clips and anything else actually included. Another supporting image shows a clip on a suitable desk surface with a cable that fits. Finish with a close view of the base or backing if that detail affects installation. The sequence answers six different questions instead of repeating the same benefit.
Check the demonstration against the product instructions. Do not imply that a clip holds heavier or wider cables than it is designed for. If preparation or surface limitations matter, use accurate language supplied by the manufacturer rather than inventing a reassuring claim.
Control text and cropping on mobile
A small product does not require small typography. Give the item and its most important information enough space. One short label with a clear pointer is easier to understand than six competing callouts around a tiny shape.
Preview images in a phone-width layout and at thumbnail size. Can someone distinguish the object from its shadow? Does a dark part disappear against the chosen background? Is the colour of a small variation still recognizable? These checks often matter more than another decorative icon.
Keep a separate high-quality source for detail images. Cropping deeply into a low-resolution supplier thumbnail can create apparent texture that is really compression. A larger export cannot restore missing optical detail. See the resizing guide for preserving useful information through export.

Keep AI-generated scenes tied to the reference
AI can misread small parts because the reference contains very little information. It may enlarge an opening, add a seam or simplify a fastener. Compare generated results with enlarged original photographs, especially when the shape controls fit or installation.
Use ListingBrain to explore a coordinated gallery around the product reference, then treat every scene as something to verify. A hand holding the item should show believable scale. A use scene should preserve the exact connector or attachment. A contents graphic should match the real pack.
Amazon's product image guide remains the reference for current platform requirements. Your final review adds something different: proof that the unusually small object is understandable. Buyers should know what it is, how big it is and how many they will receive before they order.
Editorial photographs are credited beside each image. They illustrate the topic and do not represent ListingBrain customer results or an endorsement by a depicted person.