
In this guide
A chair can look comfortable in a beautifully styled room and still leave a shopper with the most important question unanswered: will it fit under their table? Furniture photography must do more than create an atmosphere. It needs to explain dimensions, construction and the practical experience of owning a large object.
For Amazon furniture product photography, plan the accurate product views before styling the room. Then add context that helps the buyer understand scale. An attractive interior is useful when it clarifies the item; it becomes a problem when the props, perspective or lighting hide what customers need to know.
Build the shot list around fit
Start with the dimensions that affect use, not only the dimensions printed on a shipping carton. For a chair, that may include total height, seat height, seat width and arm clearance. For a shelving unit, internal shelf openings and depth may matter as much as overall width.
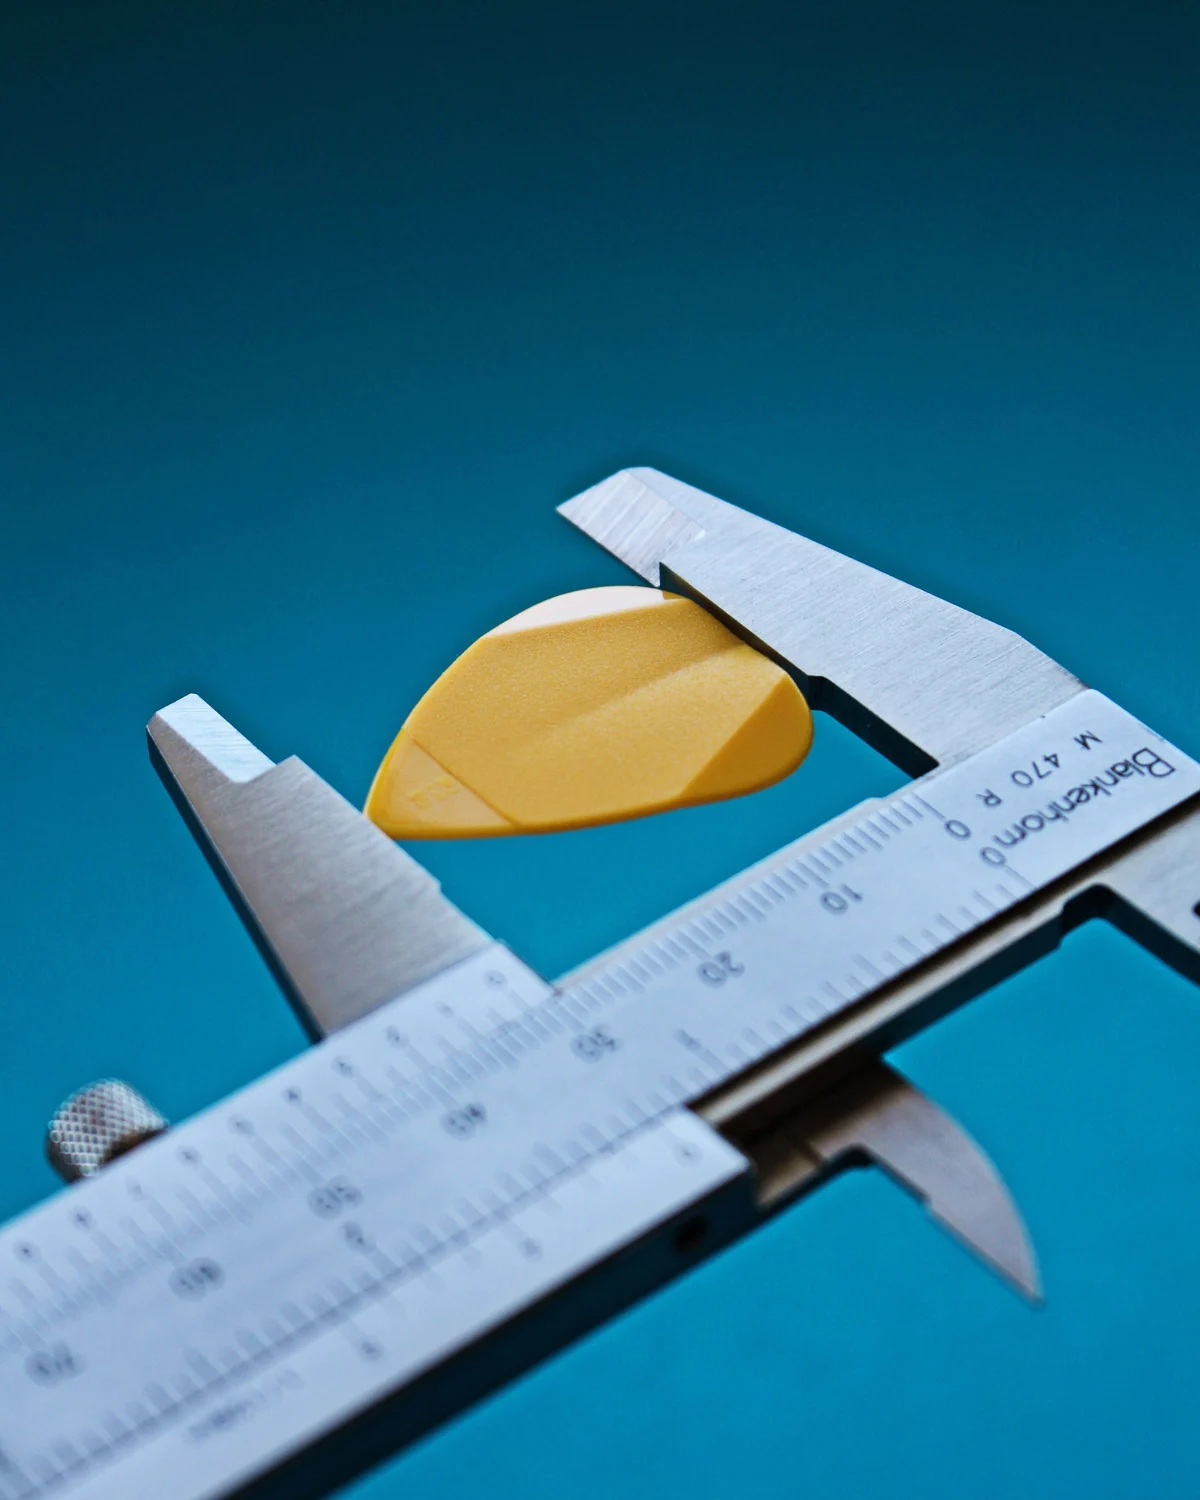
Measure the assembled sample and compare it with the approved specification. Identify which direction each measurement describes. A seat depth taken to the back cushion is different from the outside depth of the whole chair. Keep packaging measurements separate from product measurements throughout the brief.
Assign those questions to specific images. A front view can explain width, a side view can explain depth and a slightly elevated view can show usable surface area. One perspective photograph with every measurement arrow added is often harder to read than two simpler views.
Photograph complete shapes with controlled perspective
Leave enough working distance to capture the item without unnecessarily wide-angle distortion. A camera placed very close to the front leg can make it look larger than the rear leg. That may create energy in an editorial image, but it weakens the buyer's understanding of proportion.
Keep vertical lines controlled when the furniture is meant to be straight. Check table legs, cabinet sides and shelf supports. Small camera changes can reduce the need for aggressive perspective correction later. Review the corrected shape against the real object before approval.
Include the entire product where a complete view is needed. Do not crop out the top edge of a tall unit or the base of a floor-standing item simply to fill the frame. Close details belong in additional images, where their purpose can be clear.
Show materials in light that explains them
Material photography should reveal texture without making it look like a different finish. Side light can show woven fabric, wood grain or a brushed metal surface. Too much contrast can exaggerate texture; overly flat light can erase it. Test the setup on a representative area before completing the full shoot.
Photograph details that change the purchase decision: an edge profile, a handle, a joint, a hinge or the surface where hands will touch. If the product uses a wood-look surface rather than solid timber, the image and accompanying wording should not imply otherwise.
Check fabric colour against the physical sample under suitable light. A warm room may make grey upholstery appear beige. Keep a neutral reference capture available so the team can tell whether a colour shift belongs to the product or the scene.
Use room scenes to answer scale questions
Choose a setting that matches the product's intended use and physical size. A compact side table should not be staged in a way that makes it appear suitable as a full dining table. A narrow bookcase needs enough surrounding context to explain its height and depth.
Keep familiar objects proportional and verify their dimensions if they act as scale references. A very small decorative book can make a shelf look larger than it is. Digital staging can create the same problem by changing room or prop proportions. Review the scene with measured product dimensions nearby.
Separate included items from decorative props. If a bed frame is sold without a mattress, or a table without chairs, the listing must communicate the actual offer accurately. Review the current category requirements for how these items should appear, and use clear supporting-image explanations where appropriate.
Plan assembly images before the item is built
Assembly information is easiest to capture when production is planned around it. If the team only photographs the completed item, you may later need to dismantle it to show parts or access points. Include those views in the shot list before the sample is assembled.
A contents photograph can show panels, legs, fittings and the actual tools included. Group hardware logically without pretending a decorative arrangement is an assembly sequence. If the listing needs to explain a step, photograph that specific action with the correct component orientation.
Avoid unsupported assembly promises. “Ready in five minutes” requires evidence and a defined situation; an attractive photograph does not establish that timing. It is often more useful to show the connection clearly and state verified information from the instructions.
| Image purpose | What to photograph | What to verify |
|---|---|---|
| Room fit | Front and side dimensions | Assembled measurements, not carton size |
| Daily use | Doors, drawers or adjustable parts | Real opening space and operation |
| Materials | Surface and construction details | Actual finish and accurate wording |
| Assembly | Parts and selected connections | Included hardware and correct sequence |
A practical example: a small hallway bench
For a fictional hallway bench, the first supporting image could show the overall footprint. A second explains the seat height and usable shelf opening. A close-up shows the actual surface finish, while another view demonstrates the assembled structure from the back.
The room image places it near a doorway without hiding either end. Shoes used for context are clearly separate from the sold item. An assembly image shows the components customers receive. If a cushion is optional rather than included, the image set must reflect the selected offer accurately.
This sequence is useful because each image removes a different doubt. Four similar room scenes would create more visual variety without explaining whether the bench fits the buyer's hallway or holds the items they have in mind.

Review the delivery and any generated scenes
Compare all exports with the physical sample and approved specifications. Check leg counts, shelf spacing, handles, seams and the direction doors open. These details can change accidentally in retouching or AI-generated staging. A believable room does not prove that the furniture remained accurate.
Use ListingBrain to develop a coordinated visual story from a reliable reference, then inspect dimensions, finishes and proportions before using an output. The lifestyle image guide covers scene planning, and the dimensions guide helps organize measurement graphics.
Check Amazon's current product image guide and relevant furniture category instructions before upload. The final gallery should let a shopper judge fit and construction with confidence, while leaving the actual colour, dimensions and included components unchanged.
Editorial photographs are credited beside each image. They illustrate the topic and do not represent ListingBrain customer results or an endorsement by a depicted person.