
In this guide
- Plan for inspection and for proportion
- Read the jewelry guidance before staging the hero
- Clean and position before lighting
- Light the reflection rather than the lamp
- Choose focus according to the useful detail
- Keep colour consistent without overpromising
- Build a scale frame that does not depend on a familiar prop
- Retouch dust, not the construction
- Example: a pendant listing with a clear visual story
A ring can be perfectly sharp and still be a poor product photograph. If the metal looks like grey plastic, the stone colour shifts between frames or there is no way to judge the size, the image leaves the buyer guessing. Jewelry photography is a controlled description of a small object, not simply a test of how closely the camera can focus.
The goal is to give shoppers an accurate view of shape, finish, fastening and proportion. Keep the striking macro photograph, but support it with views that answer ordinary ownership questions. A necklace clasp, an earring post or the profile of a setting may matter more to a purchase than another dramatic reflection.
Plan for inspection and for proportion
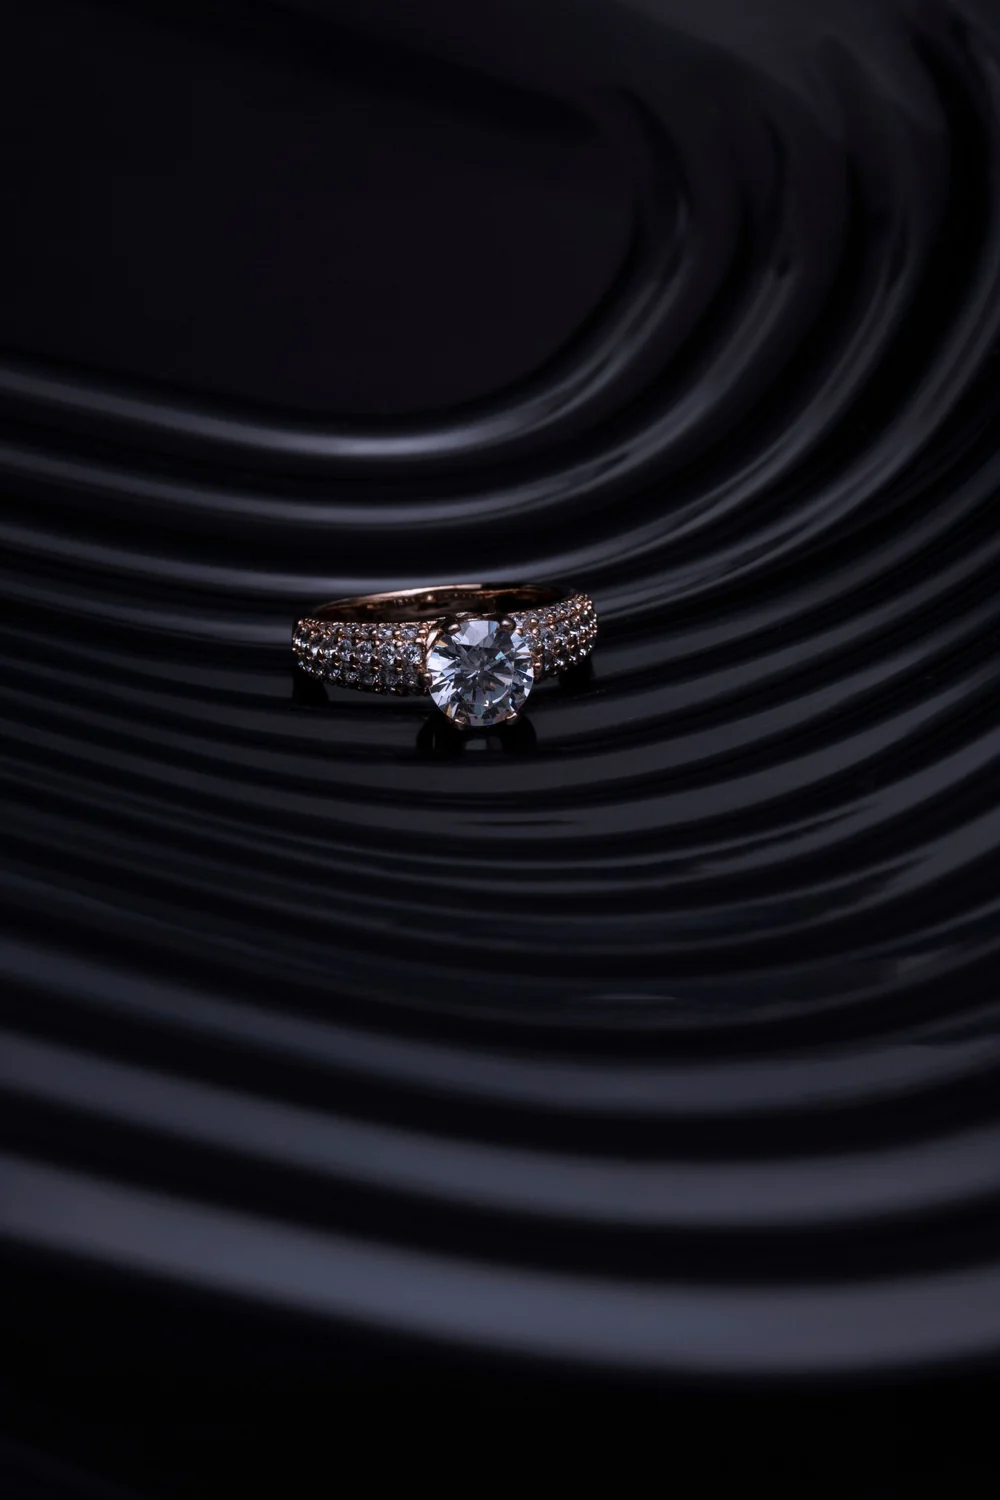
Separate your shot list into two groups. Inspection images reveal construction: prongs, clasp, chain links, underside, surface finish or engraving. Proportion images help a shopper understand the item at a believable size. Neither replaces the other. A tiny pendant enlarged to fill a monitor may show craftsmanship clearly while creating an inflated sense of scale.
Write the verified measurements beside the shot list before setting up. Record the dimension of the actual component being described. Pendant height should not accidentally include the chain, and a chain length should use the stated measurement method. Keep the physical sample, specification sheet and image labels together through approval.
Read the jewelry guidance before staging the hero
Amazon publishes category guidance for jewelry with main-image instructions. Check that guidance for the relevant marketplace instead of assuming a styled photograph or on-person scene can serve as the main image. Prepare clean product views separately from supporting editorial scenes.
This is particularly useful when a brand already has lifestyle campaign photography. A beautiful neck or hand photograph may be a good supporting asset yet leave the clasp invisible or be unsuitable for the required main-image treatment. Build the gallery around the information and category rules, then decide where the campaign material genuinely helps.
Clean and position before lighting
Fingerprints, fibres and polishing residue become large marks in a close-up. Clean the sample with a method appropriate to its material, handle it carefully and inspect it under the light before shooting. Use a clean work surface and keep cleaning supplies near the setup. Removing dust physically is usually faster than repairing it in every final frame.
Arrange chains so the link structure remains believable. Avoid pulling a necklace into an unnatural perfect curve merely to fill the frame. For earrings, show a correct pair if a pair is the offer, and keep left and right components consistent. Photograph the fastening separately when it would otherwise be hidden behind the hero arrangement.
Light the reflection rather than the lamp
Polished metal shows the environment around it. A small bare light can create a hard bright spot with little information about the rest of the shape. Place a larger diffused light source nearby and watch the reflection move as you change its angle. White card can brighten a dark area; narrow black card can introduce an edge that makes a curved form easier to read.
Work in small changes. Adjust one card or light, take a frame, then compare it with the previous version. Aim for a smooth transition across the metal without erasing its boundaries. Silver should still look like reflective silver, and brushed metal should retain its directional texture. Our reflective product photography guide goes deeper into this process.
Choose focus according to the useful detail
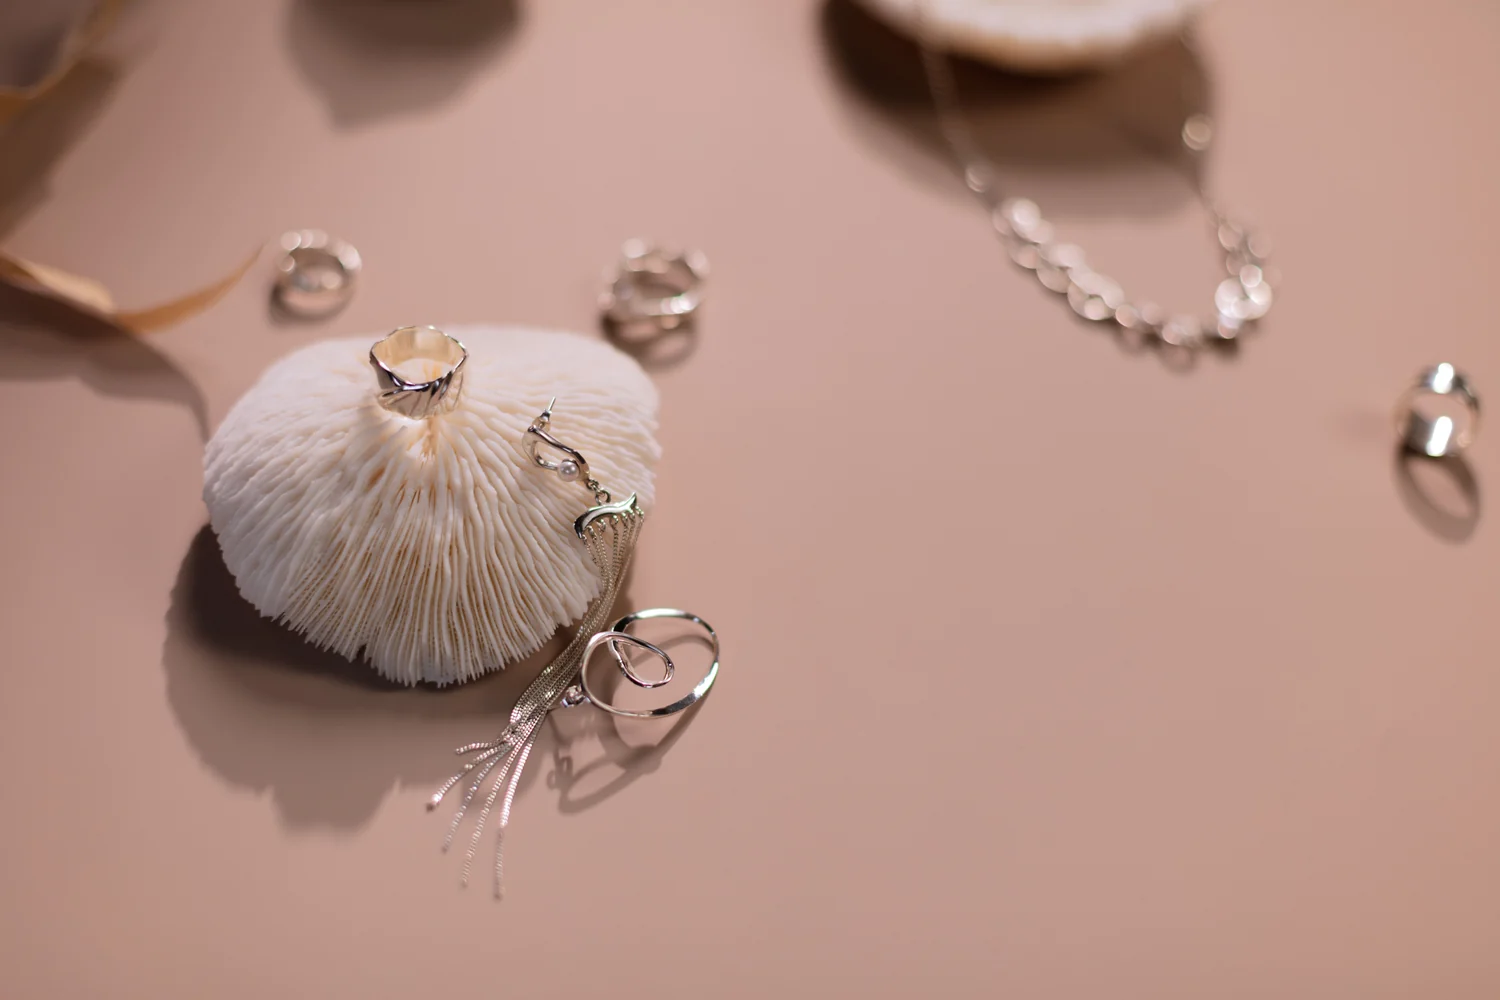
A shallow depth of field can look elegant but hide half a setting or clasp. Decide which surfaces must be readable, keep the camera stable and inspect the image at a realistic viewing size. If you use multiple focus frames, check that any combined result preserves the real edges and does not create doubled prongs or broken links.
Do not assume the closest possible crop is the most informative. Leave enough surrounding shape for the detail to make sense. An isolated stone facet can become visually impressive but difficult to connect to the full piece. A slightly wider macro view often does a better job of showing how the setting is built.
Keep colour consistent without overpromising
Photograph a neutral reference under the same light and use it to check white balance. Avoid mixing window light with a warm household lamp. Compare the edited photograph with the sample under sensible neutral viewing conditions. If every frame uses a different colour treatment, the buyer cannot tell whether the metal is yellow gold, rose coloured or simply reflecting a warm room.
A screen cannot guarantee an identical appearance in every environment. Your job is to avoid adding an unnecessary mismatch through editing. Keep a coloured gemstone's hue and visible inclusions faithful to the sample. Do not increase saturation until the stone becomes a different-looking material. For a repeatable workflow, see product photo colour accuracy.
Build a scale frame that does not depend on a familiar prop
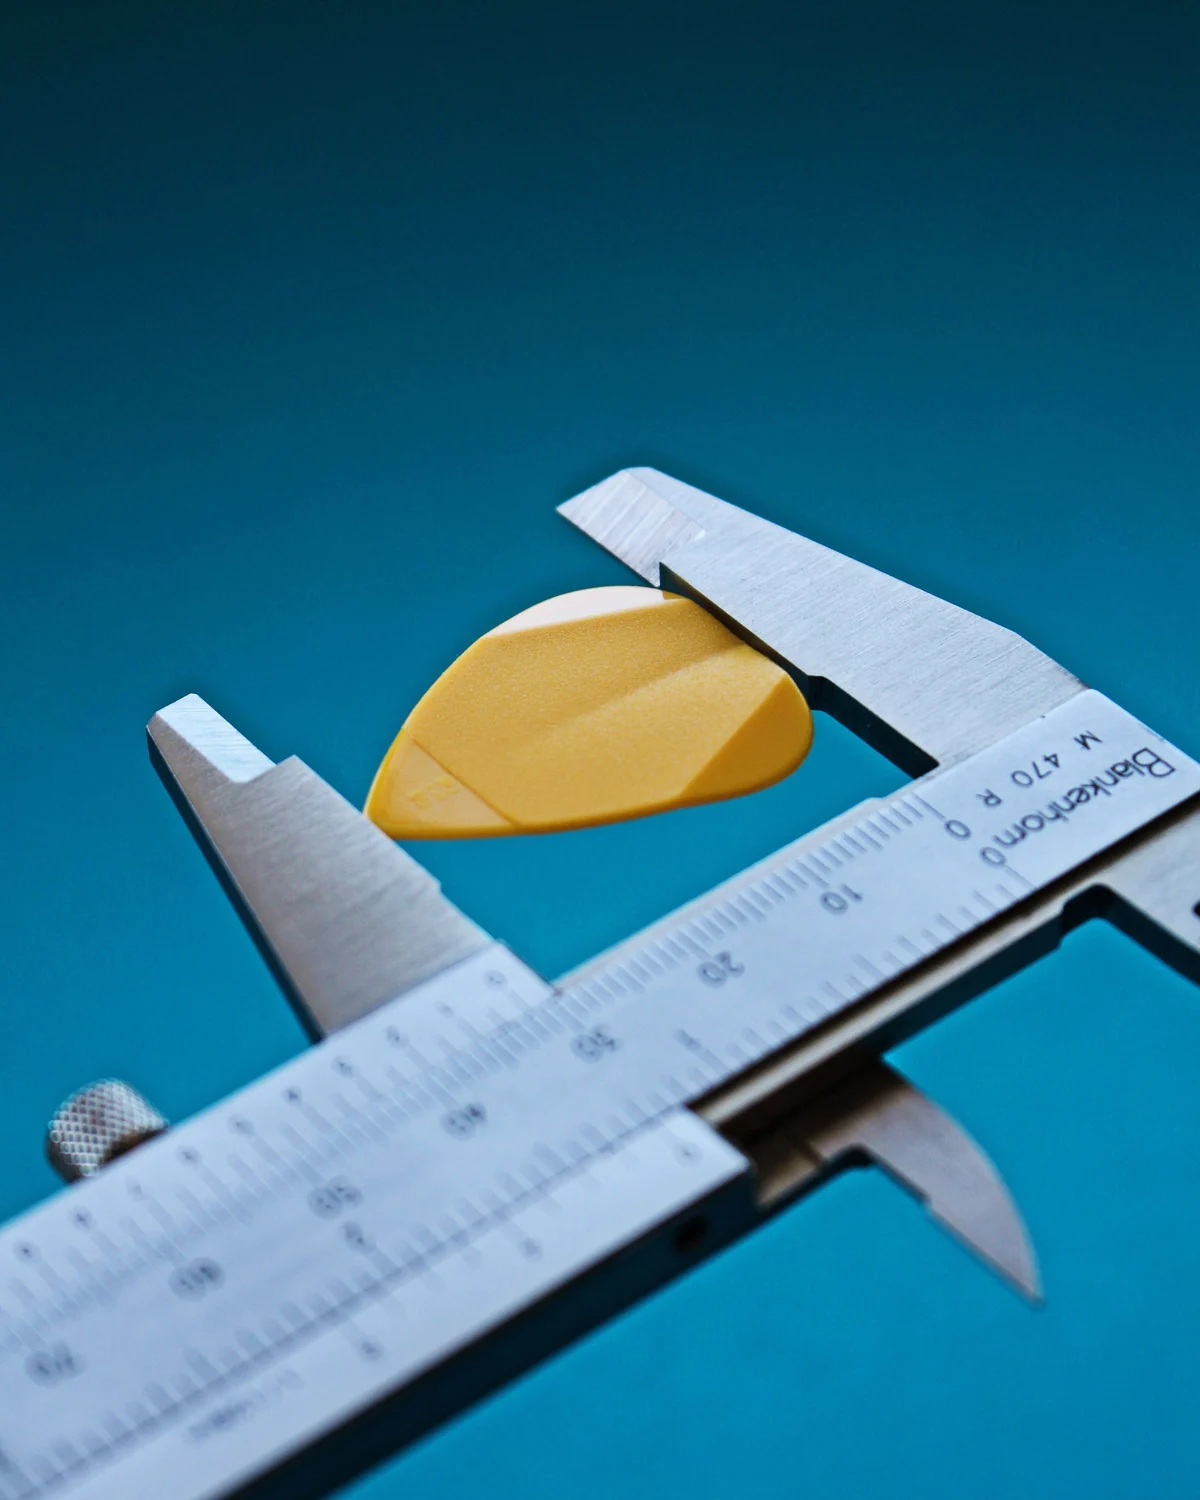
A ruler or measurement diagram is more precise than assuming everyone knows the size of a particular coin. Keep units clear and make arrows terminate at the points actually measured. For a hoop earring, identify whether the value describes inner diameter, outer diameter or another dimension. For a ring, distinguish the band width from the size specification.
An on-person supporting photograph can add context where appropriate, but it is still one person's proportions. Avoid using it as the only sizing information. If you show the same pendant both in a close-up and in context, keep the shape and orientation consistent so shoppers can connect the two views without confusion.
Retouch dust, not the construction
Remove temporary dust and background distractions while preserving the defining details of the real item. Do not smooth away a brushed finish, change the number of stones or reshape a clasp. Keep a reference copy of the original photographs so a reviewer can check whether an edit corrected the picture or redesigned the product.
Be especially careful with engraving and fine chain links. Automated cleanup can replace legitimate marks with a clean-looking but incorrect surface. Examine these areas after every major edit. If you create layouts with ListingBrain, use your approved photographs as references and compare the generated details with those originals before exporting.
Example: a pendant listing with a clear visual story
A useful set for a small pendant could begin with an accurate product-first view. Follow it with a slightly angled view showing depth, a macro of the setting, a measurement image, a clasp photograph and a restrained supporting scale scene. If packaging is included, show it in a separate contents frame rather than allowing a decorative box to obscure the item.
The sequence can change, but the evidence should remain. Someone considering a gift may care about presentation; someone replacing a broken chain may care about the attachment. Describe the buyer's uncertainty in the brief and choose the image that resolves it. A gallery earns trust when its beautiful photographs also allow a practical inspection.
Editorial photographs are credited beside each image. They illustrate the topic and do not represent ListingBrain customer results or an endorsement by a depicted person.